Table of contents
Overview
Robopost's Agency Plan enables resellers to offer the software as their own white-labeled product. White labeling allows you to:
- Rebrand the software with your own name, logo, and branding assets.
- Use your own domain for added branding control.
- Customize Support/Reply-To email.
- Provide an Email for documentation support
- Your customers will get emails through a custom domain name that is NOT robopost.app
- Customize usage limits
- Bring your own LiveChat
- Apply Watermark to post images
- Add custom links to menu bar
Additionally, you can create multiple sub teams, onboard clients, and manage their accounts seamlessly.
Sub teams can onboard users and those users will see the software as your determine it. They will see your Logo, your Product Name, get Emails without the "Robopost" mention, etc.
Setting Up White Labeling
Step 1: Subscribe to the Agency Plan
- Ensure your account is subscribed to the Agency Plan to unlock white-labeling features.
Step 2: Update Branding Assets
- Navigate to the TEAM section in the Robopost dashboard.
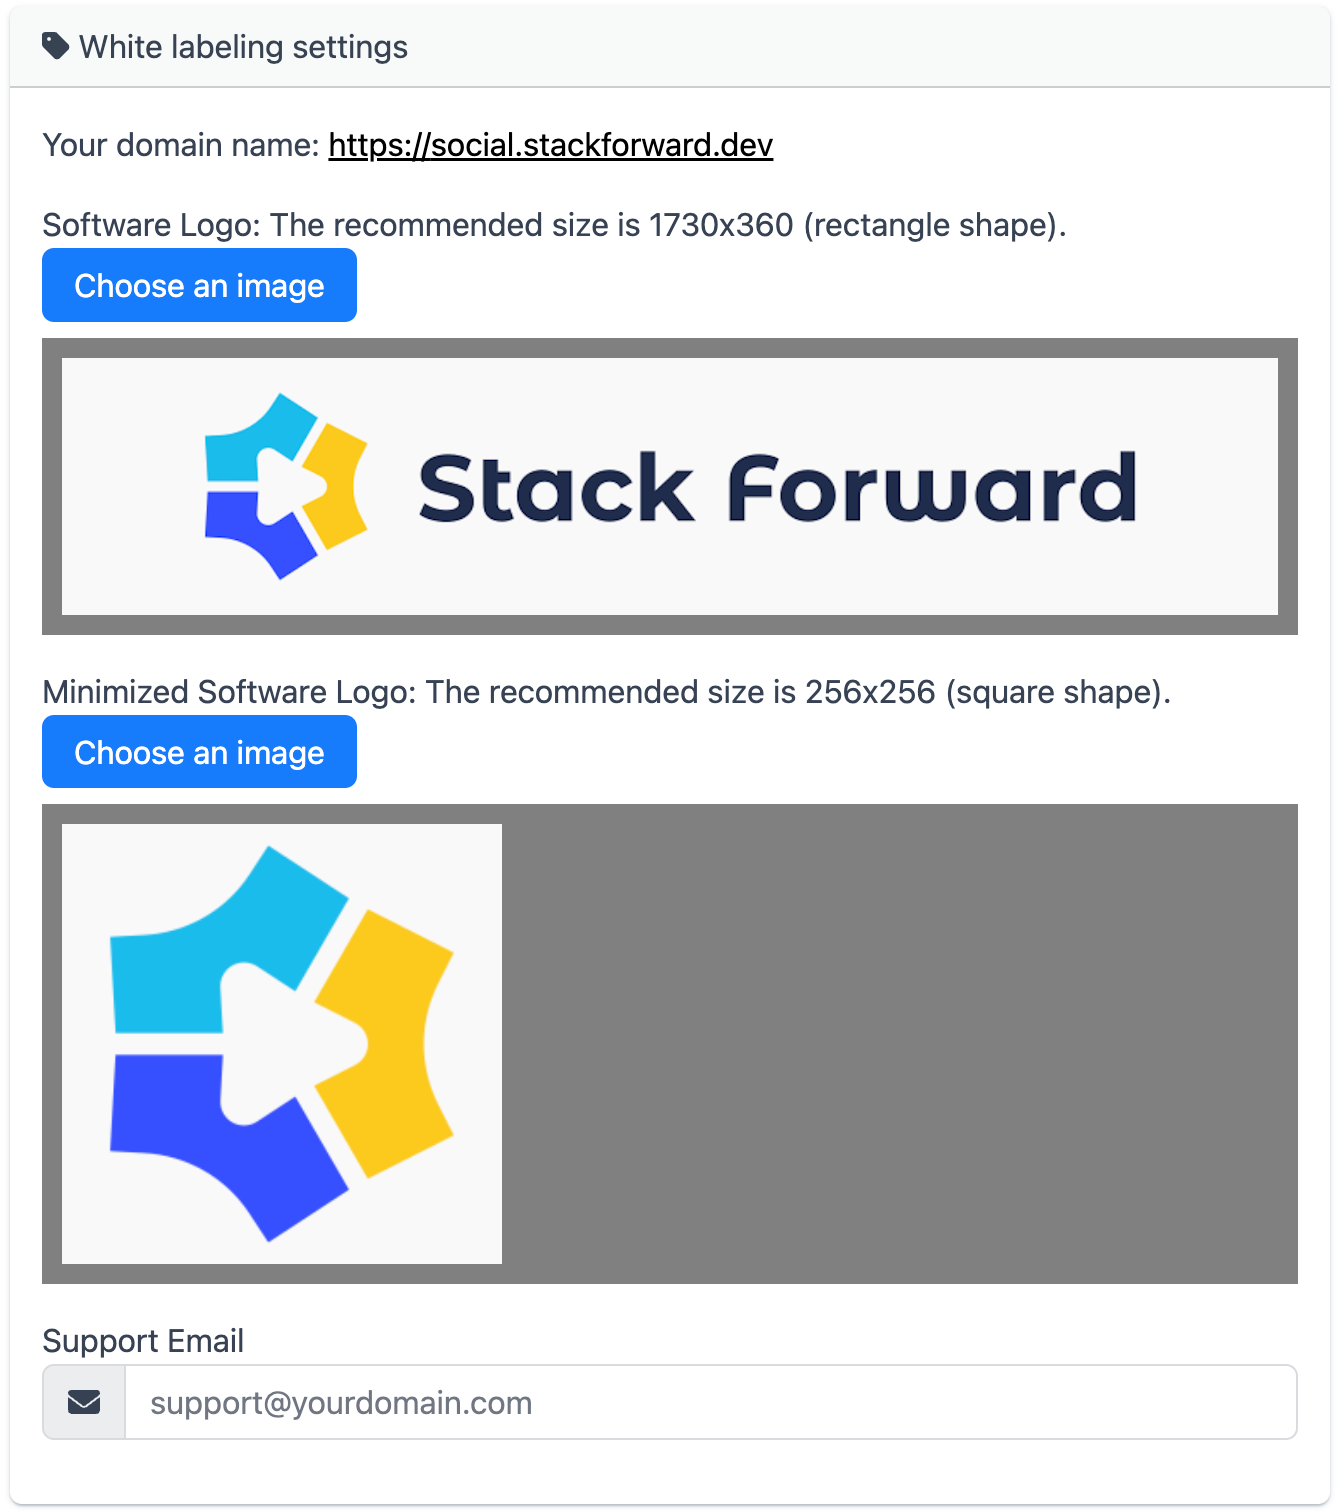
- Upload your Software Logo:
- Recommended size: 1730x360 pixels (rectangle).
- Upload your Minimized Software Logo:
- Recommended size: 256x256 pixels (square).
- Update the Support/Reply-To Email:
- Support Email: Ensure the email is one where support inquiries from your customers can reach you. (This is the orange bubble on the bottom right of the screen)
- Reply-To Email: The Email that will be used as reply-to in all systems communications with the client except for Support. For example, posts summaries.
- Set up a custom domain: If you wish to use your own domain name, follow the process described here: https://robopost.app/docs/how-to-set-up-a-custom-domain-for-white-labeling/
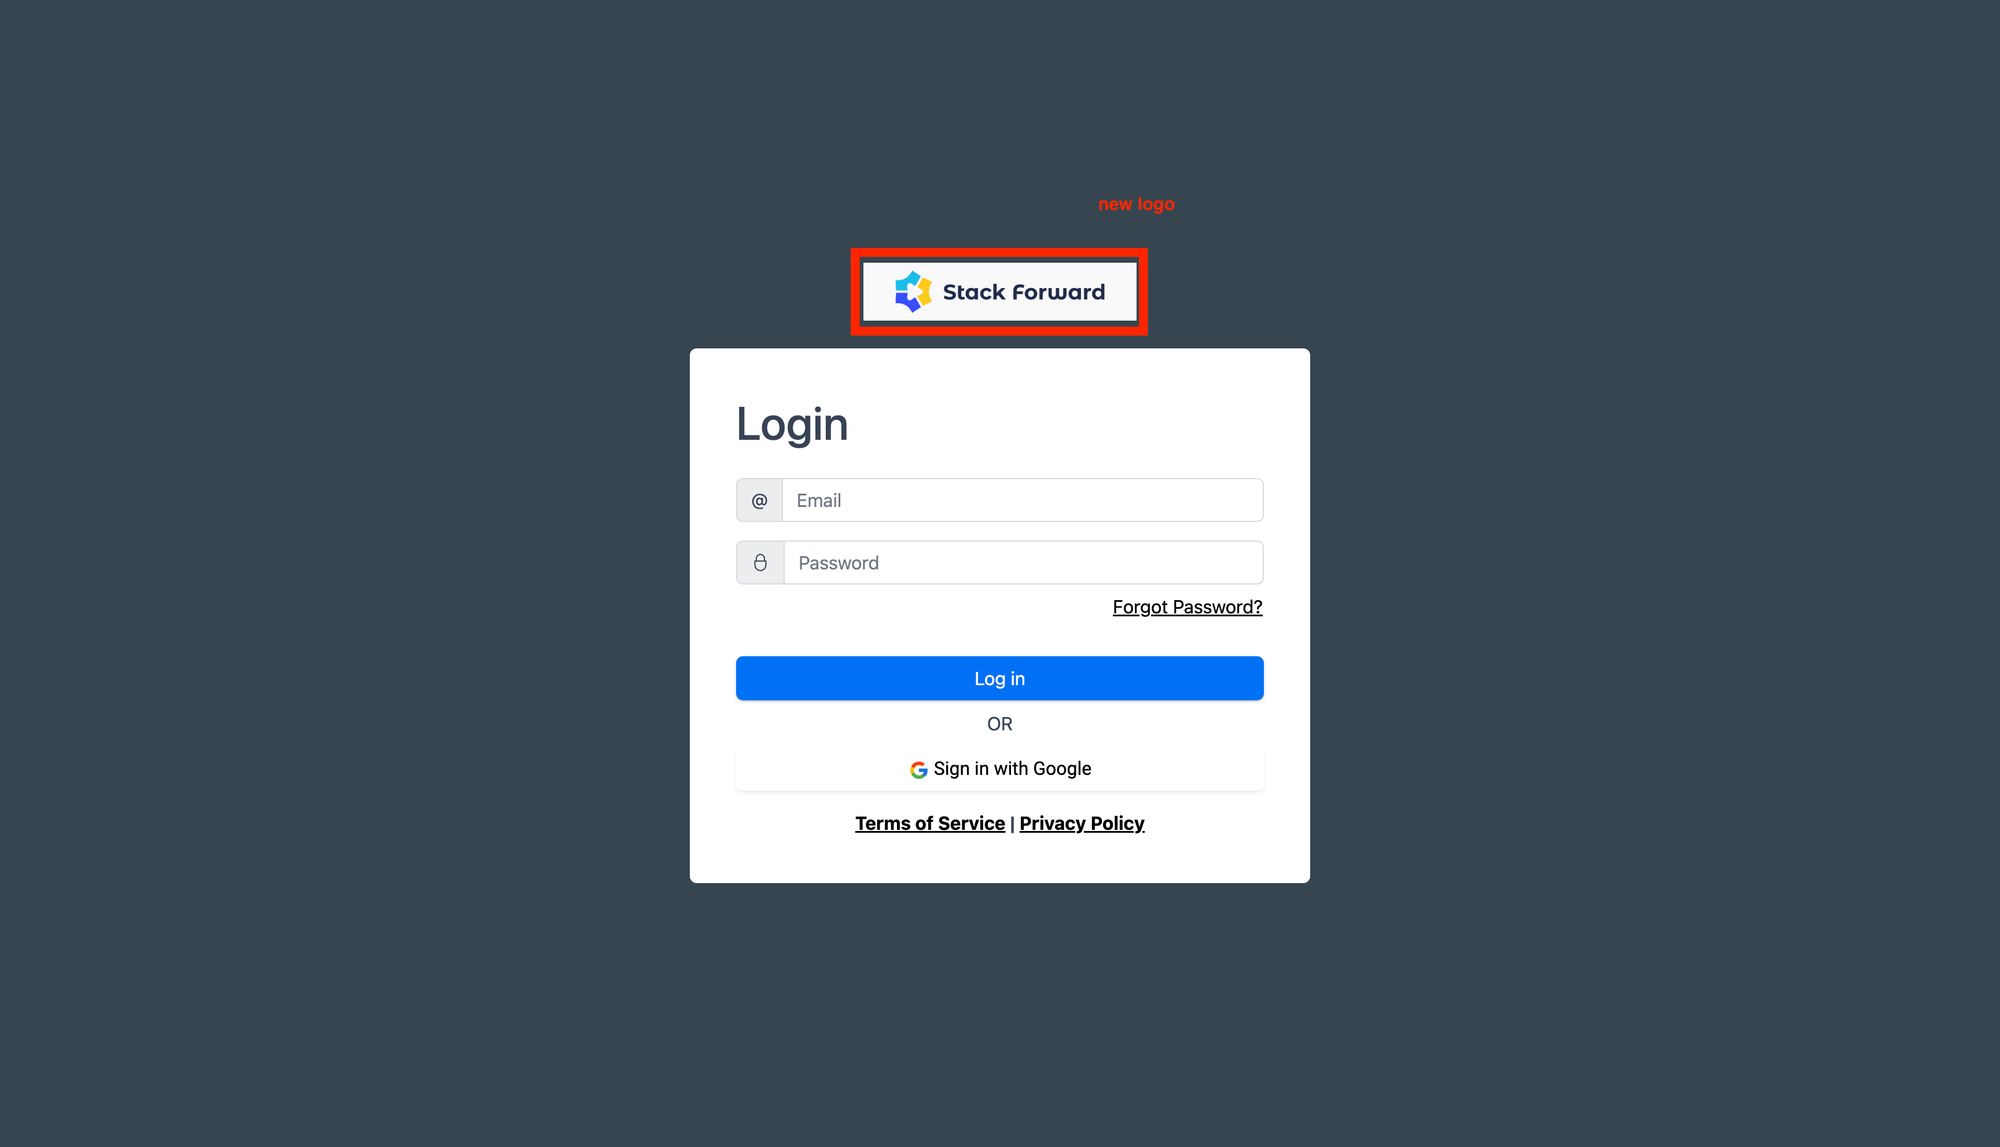
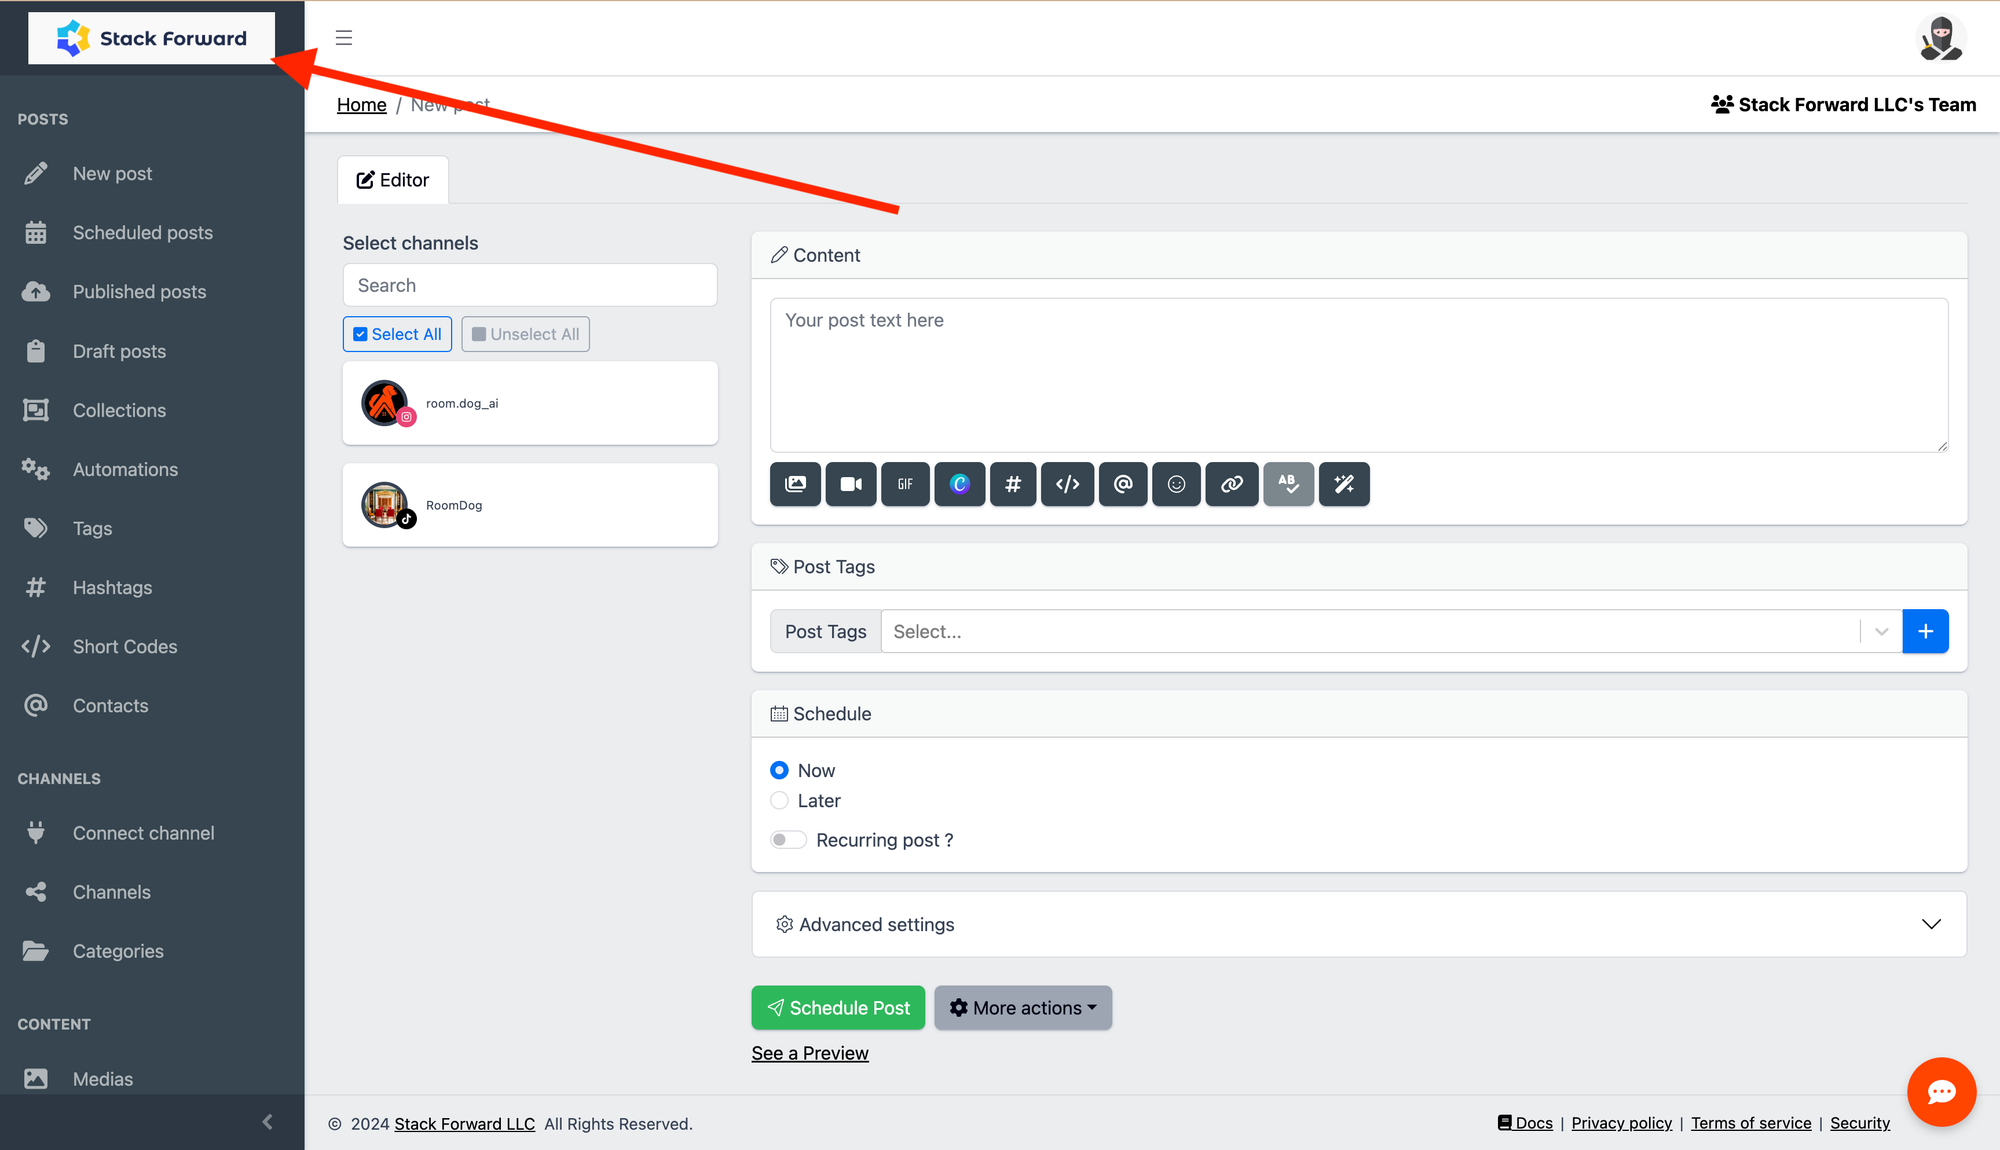
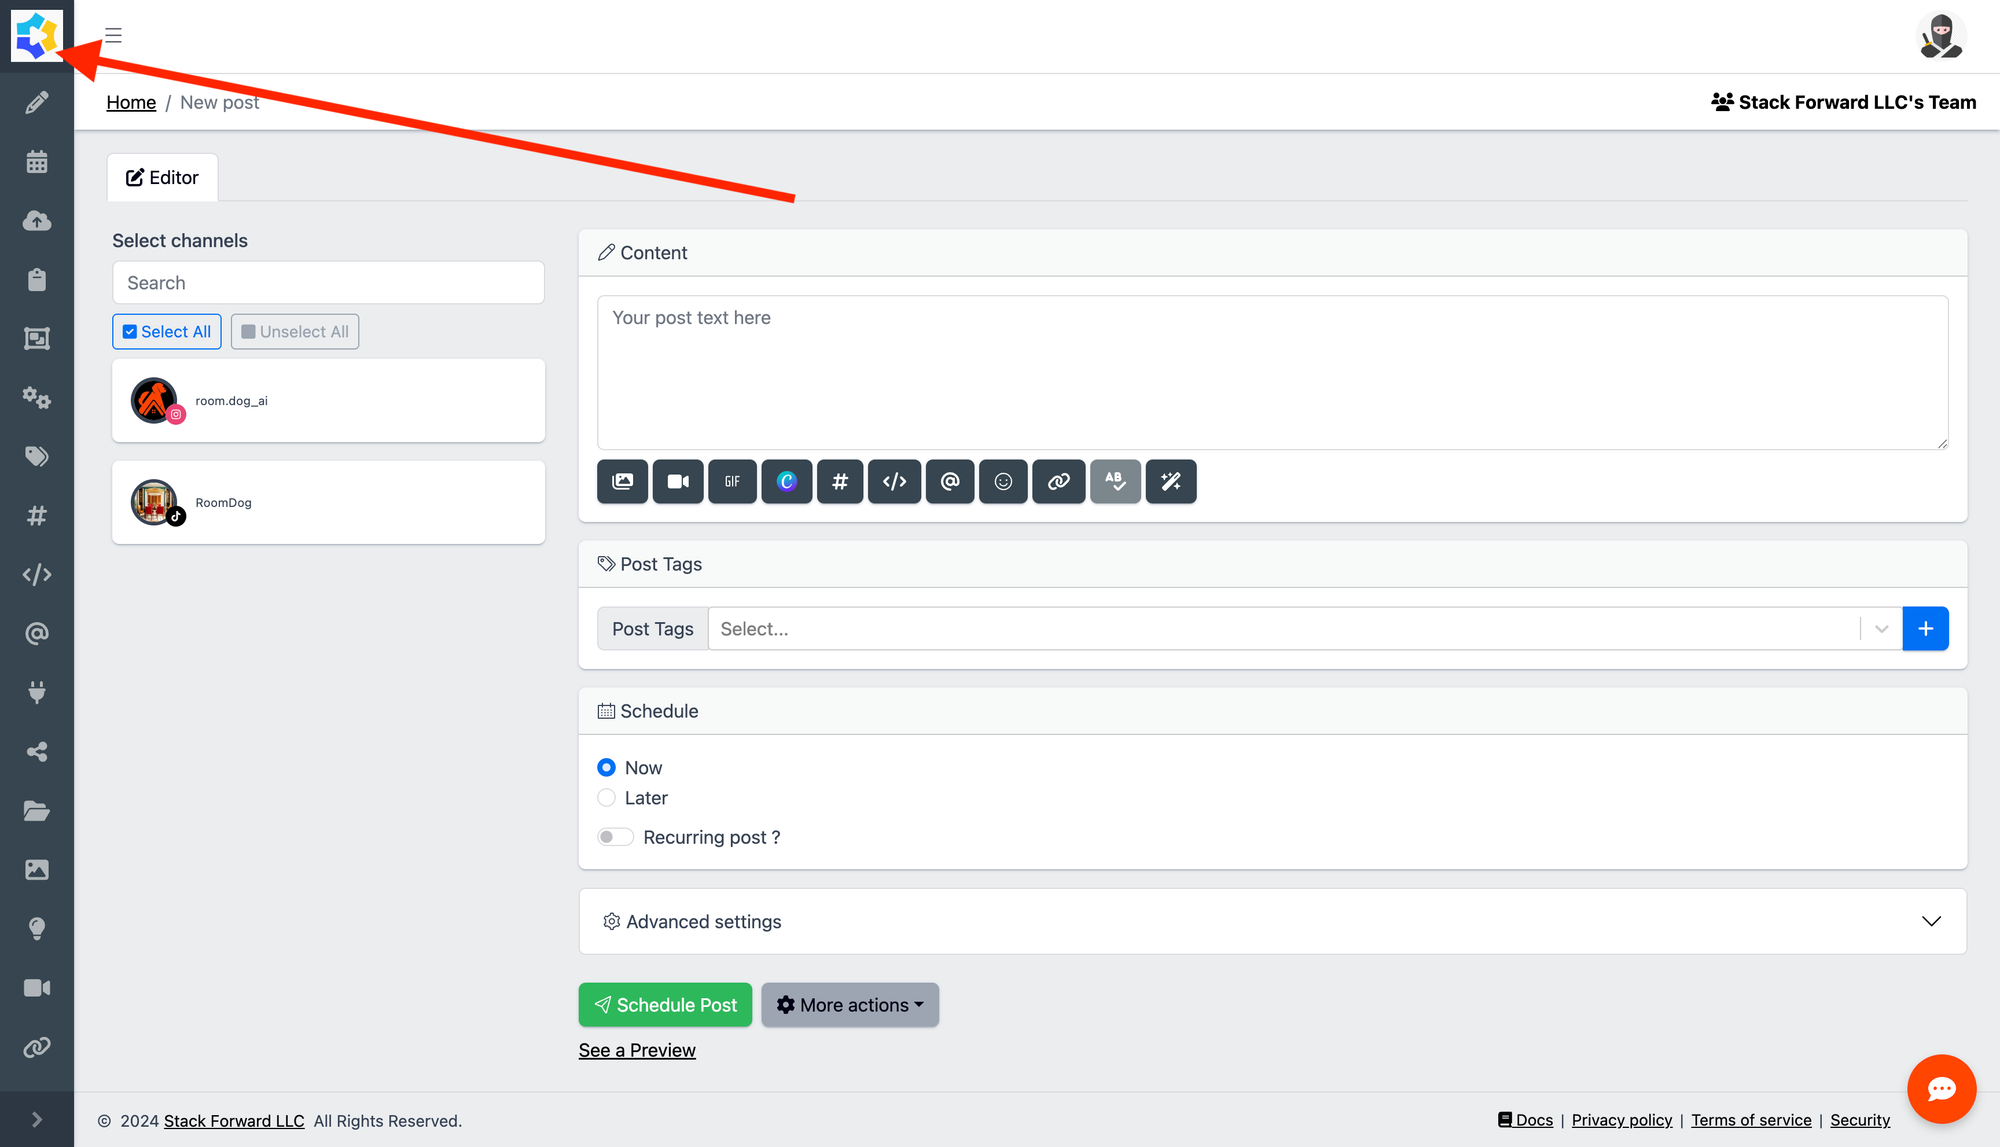
Once support setup your domain name, and your logos are updated, you will see it like so:
Creating Sub Teams
What is a Sub Team?
A white-labeled sub team is a dedicated "workspace" created specifically for your clients. When clients join this team, they see your branding, including your logo and brand name, while the Robopost brand remains completely hidden.
White-labeled teams not only help maintain consistent branding but also offer a logical way to manage both security and access matter, and separate clients into their respective "workspace" effectively.
Step 1: Create a Sub New Team
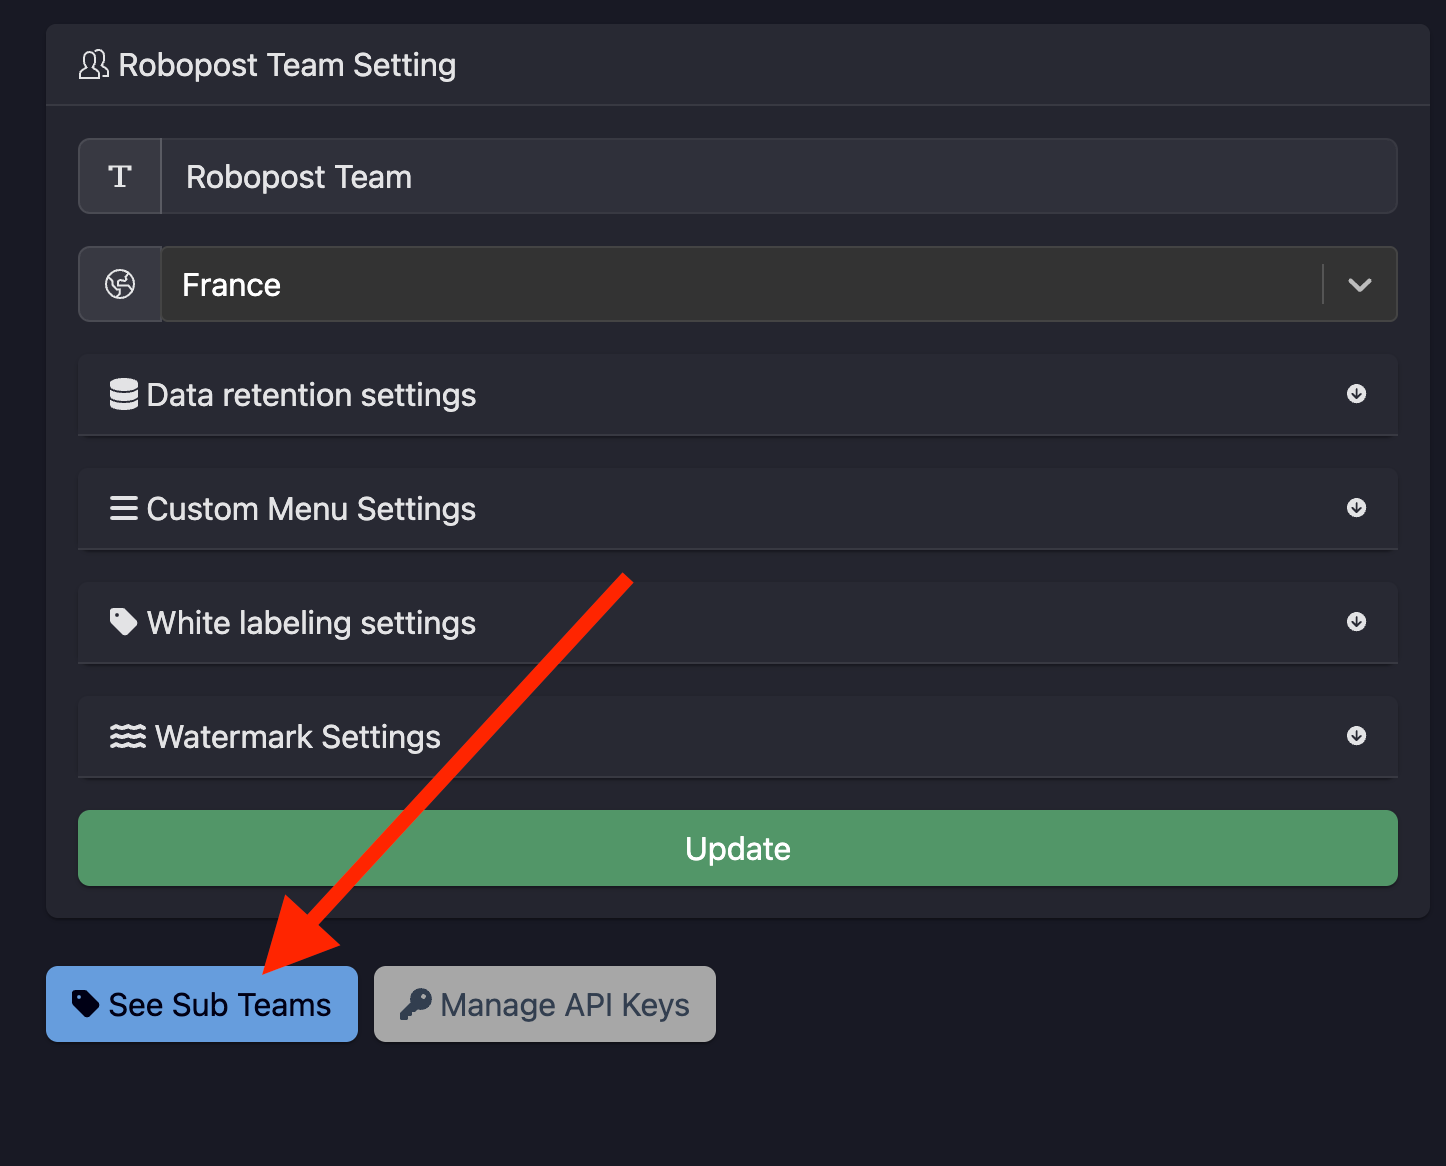
Go to Sub Teams in the dashboard. (Team > See Sub Teams)

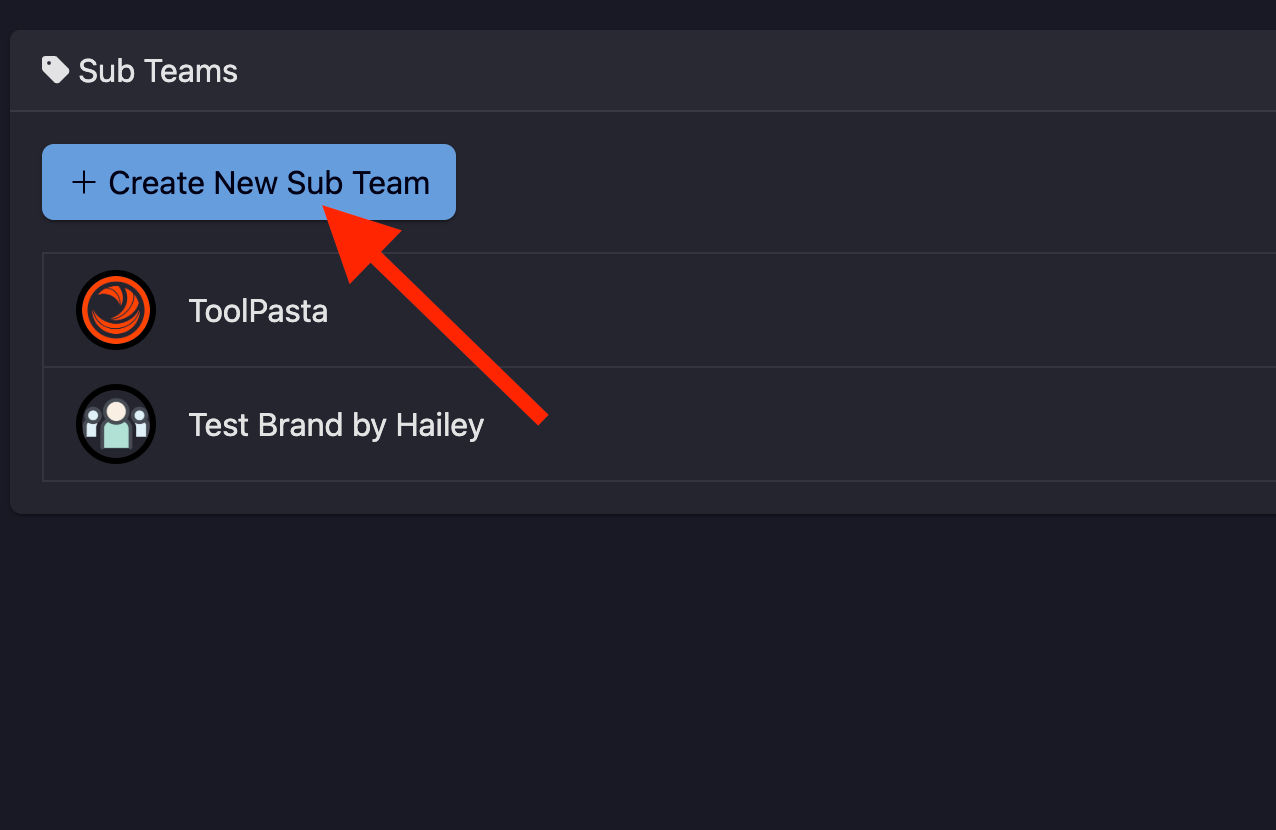
Click Create New Sub Team.
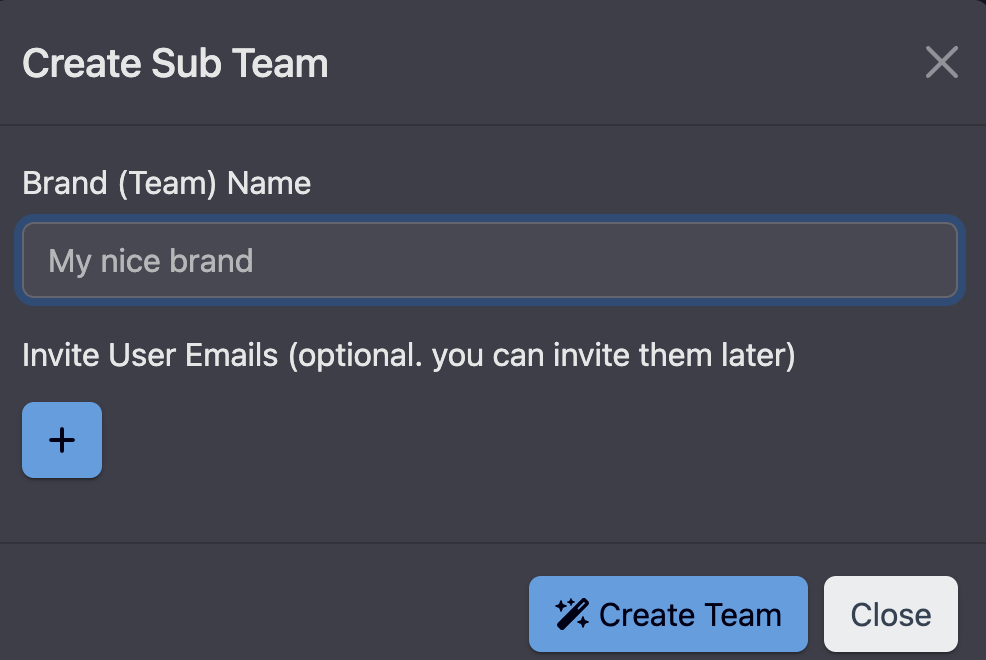
Enter the following:
- Team Name: Choose a descriptive name for the team.
- Emails: Add email addresses of the team members to invite them directly.
Step 2: Customize Team Settings
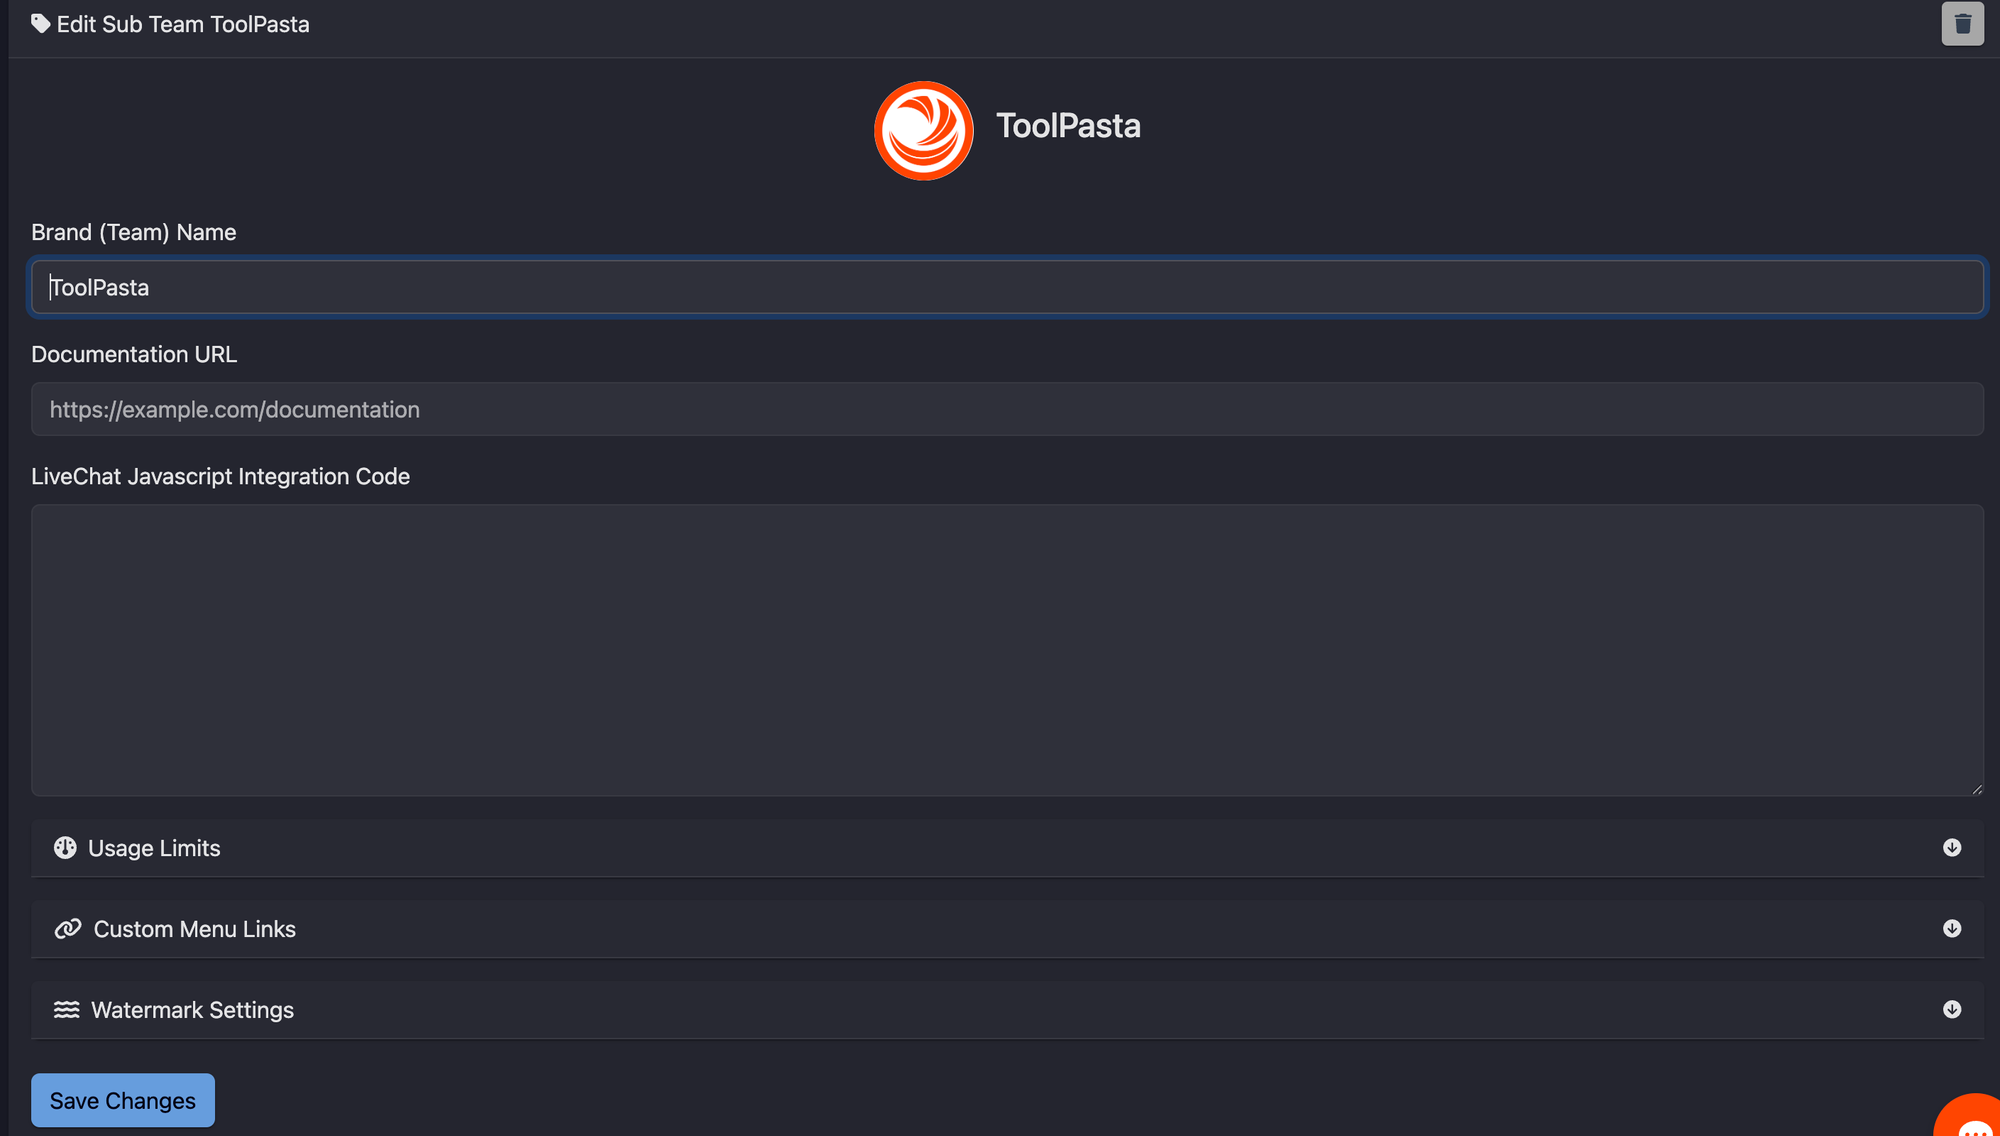
Once your white-labeled team is created, you can update the following:
- Team Name: Rename the team as needed.
- Usage Limits: Set limits for scheduled posts and the number of channels.
- Documentation URL: Add a link to your custom documentation or tutorials to guide users. This URL will be visible under "Docs" link to your users under the team.
Adding Custom Links to the Menu
You can enhance your menu by adding custom links. Follow these steps to add a new custom menu link:
- Expand the Custom Menu Links Section:
Locate and expand the Custom Menu Links section in your menu settings. - Add a New Link:
Click the + button to create a new menu item. - Specify Link Details:
- Link Label: Enter the text you want to display on the menu.
- Link URL: Enter the destination URL where the link should point.
- Save Your Changes:
After filling in the details, save your changes to update the menu.
This process allows you to easily customize your navigation menu by adding direct links to any page or resource.

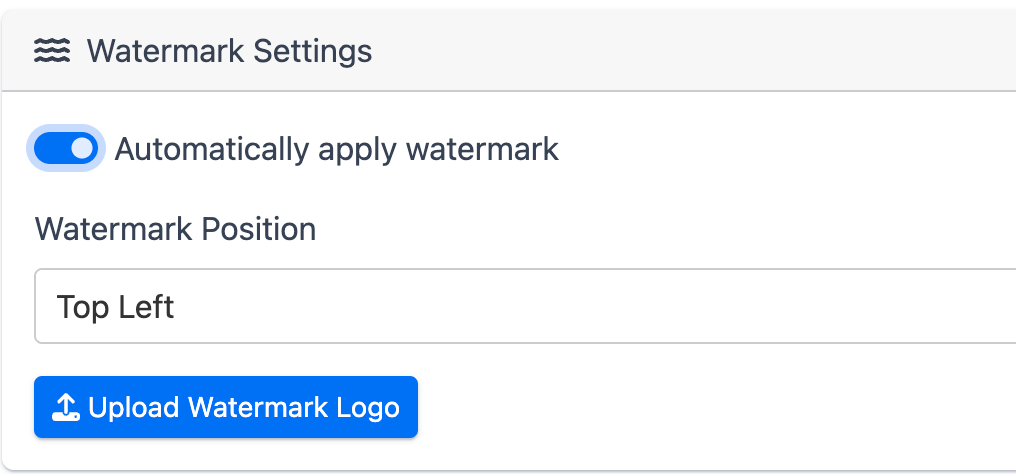
Automatically Apply Watermark on Scheduled Post Images
This feature automatically applies your watermark to every image in scheduled posts, ensuring consistent branding without any extra effort.
How It Works:
- Automatic Processing: Once enabled, every image in your scheduled posts will have your predefined watermark applied automatically.
- Consistent Branding: This guarantees that all published content maintains a uniform look with your custom watermark.
How to Enable:
- Access Settings: Navigate to your watermark settings.
- Enable Feature: Check the option labeled Automatically Apply Watermark.
- Save Changes: Confirm and save your settings.
With this feature turned on, you can rest assured that all images in your scheduled posts will be branded with your watermark automatically.
Managing Sub Teams
Inviting New Members
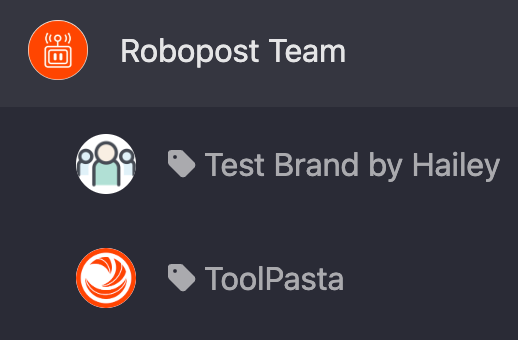
Navigate to the desired team in the left panel.
White-labeled teams are marked with a white tag icon.
You can navigate between teams by simply clicking on one of them.
Select Team > Members.
Click + Invite Member.
Add the email addresses of the individuals you wish to invite. Set their rights, and click "Invite". They will receive an Email that contains an invite link they need to click on.
Renaming Teams
- While managing a team, you can change its name and profile picture directly from the Team Settings menu.
Summary of Features
- Brand Customization:
- Replace Robopost branding with your own name, logo, and email addresses.
- Client Management:
- Create and manage multiple teams for your clients under your brand.
- Custom Domain:
- Utilize your own domain name to reinforce your branding.
- Documentation Control:
- Redirect users to your own custom manuals or tutorials.
For further assistance, reach out to the support team via the contact details provided in the Agency Plan portal.


