Table of contents
The bulk import feature allows you to create and schedule multiple posts at once. Mastering this feature will save you valuable time. Let's explore how to use it.
Download a tepmplate file
To start with bulk import, open NEW POST and click Import from CSV.
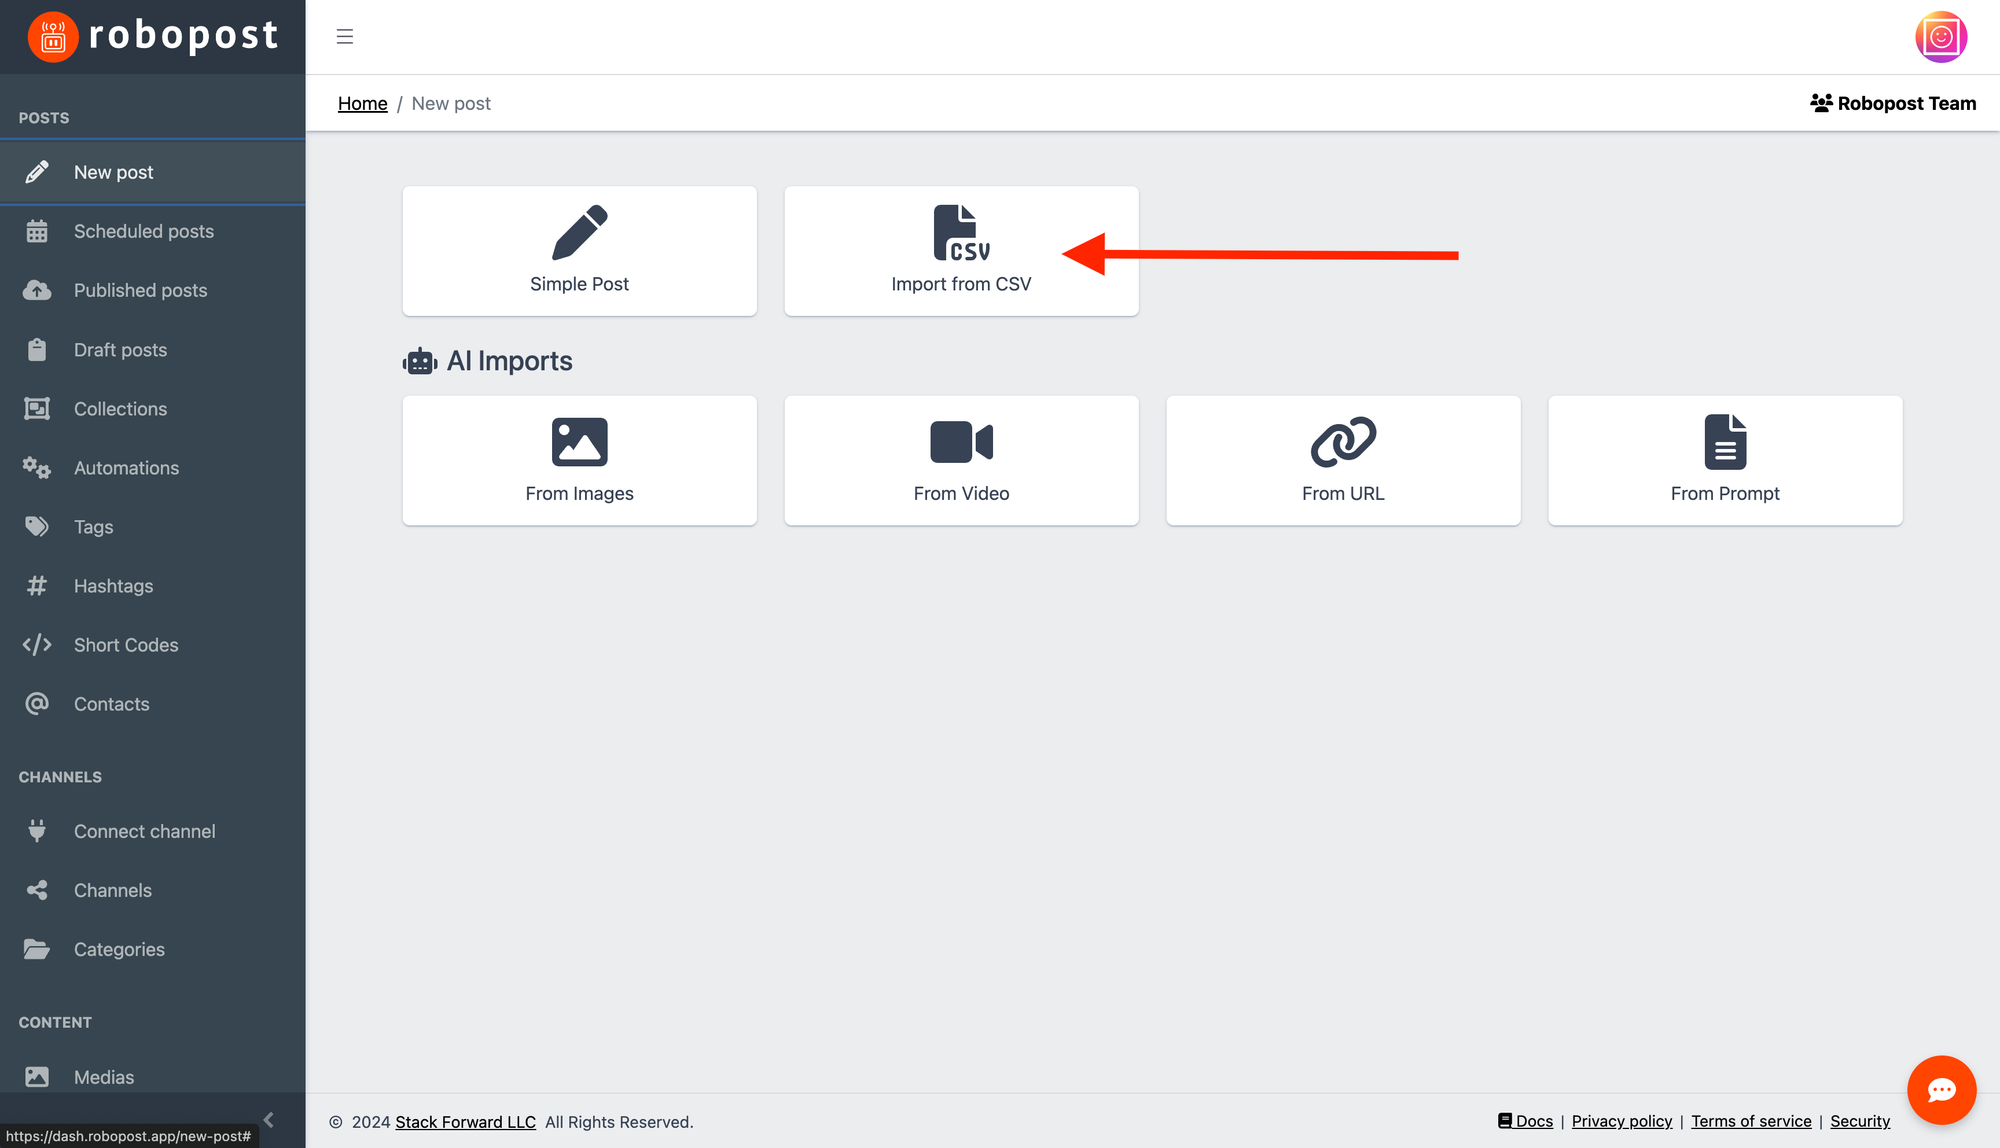
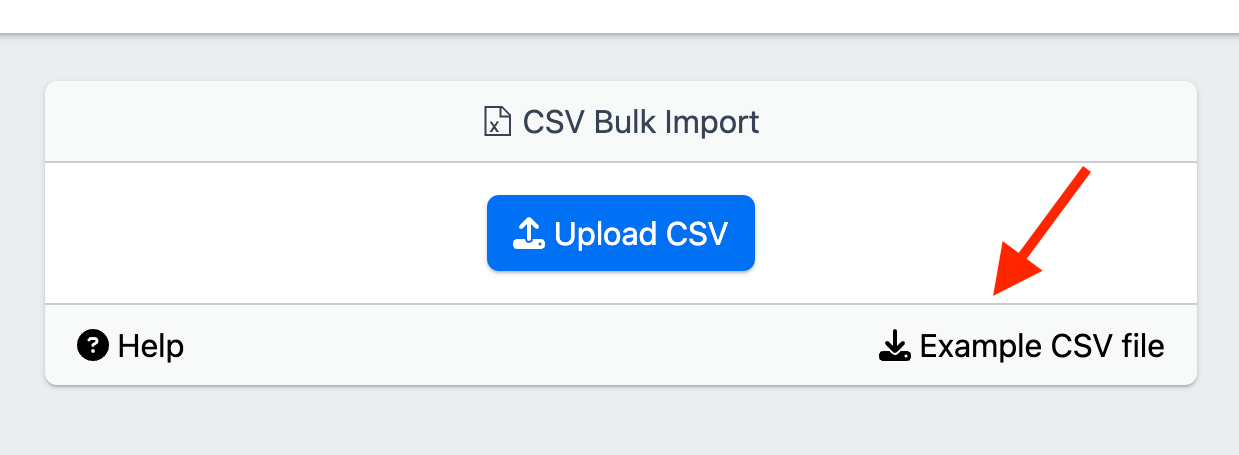
You can download a template by clicking Example CSV file.
Edit CSV file
Now let's edit the CSV file you just downloaded. Open the CSV file, and add, edit, or delete rows as needed. We provide columns for input, and each column will be imported as follows:
- 1st column: Text Content *
- 2nd column: Image/Video URL
- 3rd column: Date and Time(UTC) following ISO 8601 format *
- 4th column: A Destination URL (used in Pinterest and Google Business Profies)
- 5th column: VIDEO, SHORT, or STORY for the video type
- 6th column: Post Title for Pinterest, TikTok and YouTube
The 2nd, 3rd, 5th, 6th column are optional.
For the 2nd column, If you are not adding an image or video to your posts, leave it blank.
In the 3rd column, please set the date and time you want to publish in UTC.
4th column is optional. VIDEO is standard value. STORY will publish to Instagram as a Story, and as Short to others. SHORT will publish to platforms as a Reel or a Short.
Click here to download an example CSV file.
Specify a timezone on the schedule date (column 3)
You can specify your own timezone rather than UTC.
Here are examples of datetime in ISO 8601 format with different timezones:
-
UTC (Coordinated Universal Time)
2025-01-05T12:00:00Z -
New York (Eastern Standard Time, UTC-5)
2025-01-05T07:00:00-05:00 -
London (Greenwich Mean Time, UTC+0)
2025-01-05T12:00:00+00:00 -
Paris (Central European Time, UTC+1)
2025-01-05T13:00:00+01:00 -
Tokyo (Japan Standard Time, UTC+9)
2025-01-05T21:00:00+09:00 -
Sydney (Australian Eastern Daylight Time, UTC+11)
2025-01-05T23:00:00+11:00 -
Delhi (Indian Standard Time, UTC+5:30)
2025-01-05T17:30:00+05:30 -
Dubai (Gulf Standard Time, UTC+4)
2025-01-05T16:00:00+04:00
Each example represents the same moment in time but expressed for different timezones, maintaining the ISO 8601 standard.
Upload CSV file
Let's return to the bulk import page. Click Upload CSV and select the CSV file you created. The upload may take 5 to 60 seconds, depending on the amount of content.
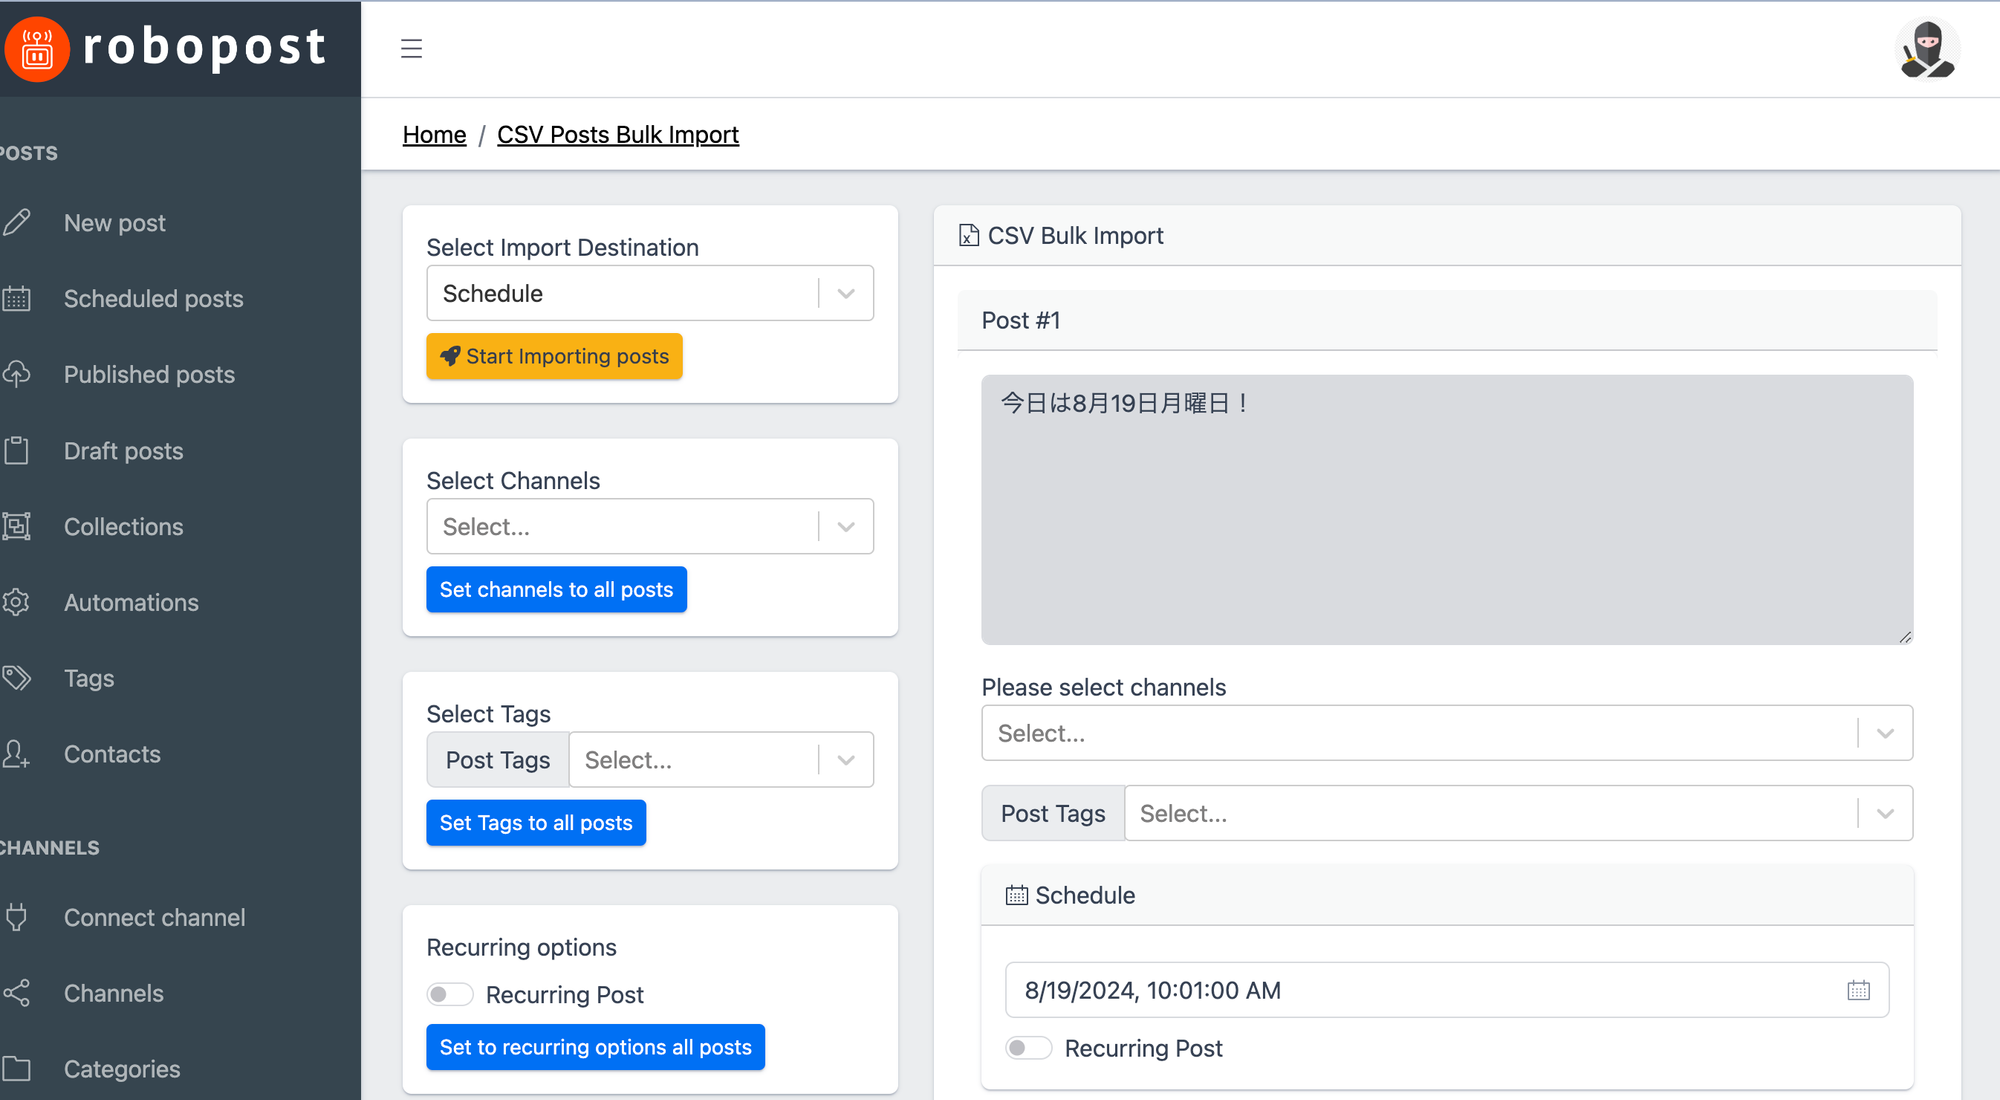
Once completed, you will see the content you uploaded on the screen. Now, let's set up channels and other detailed information.
Import Destination
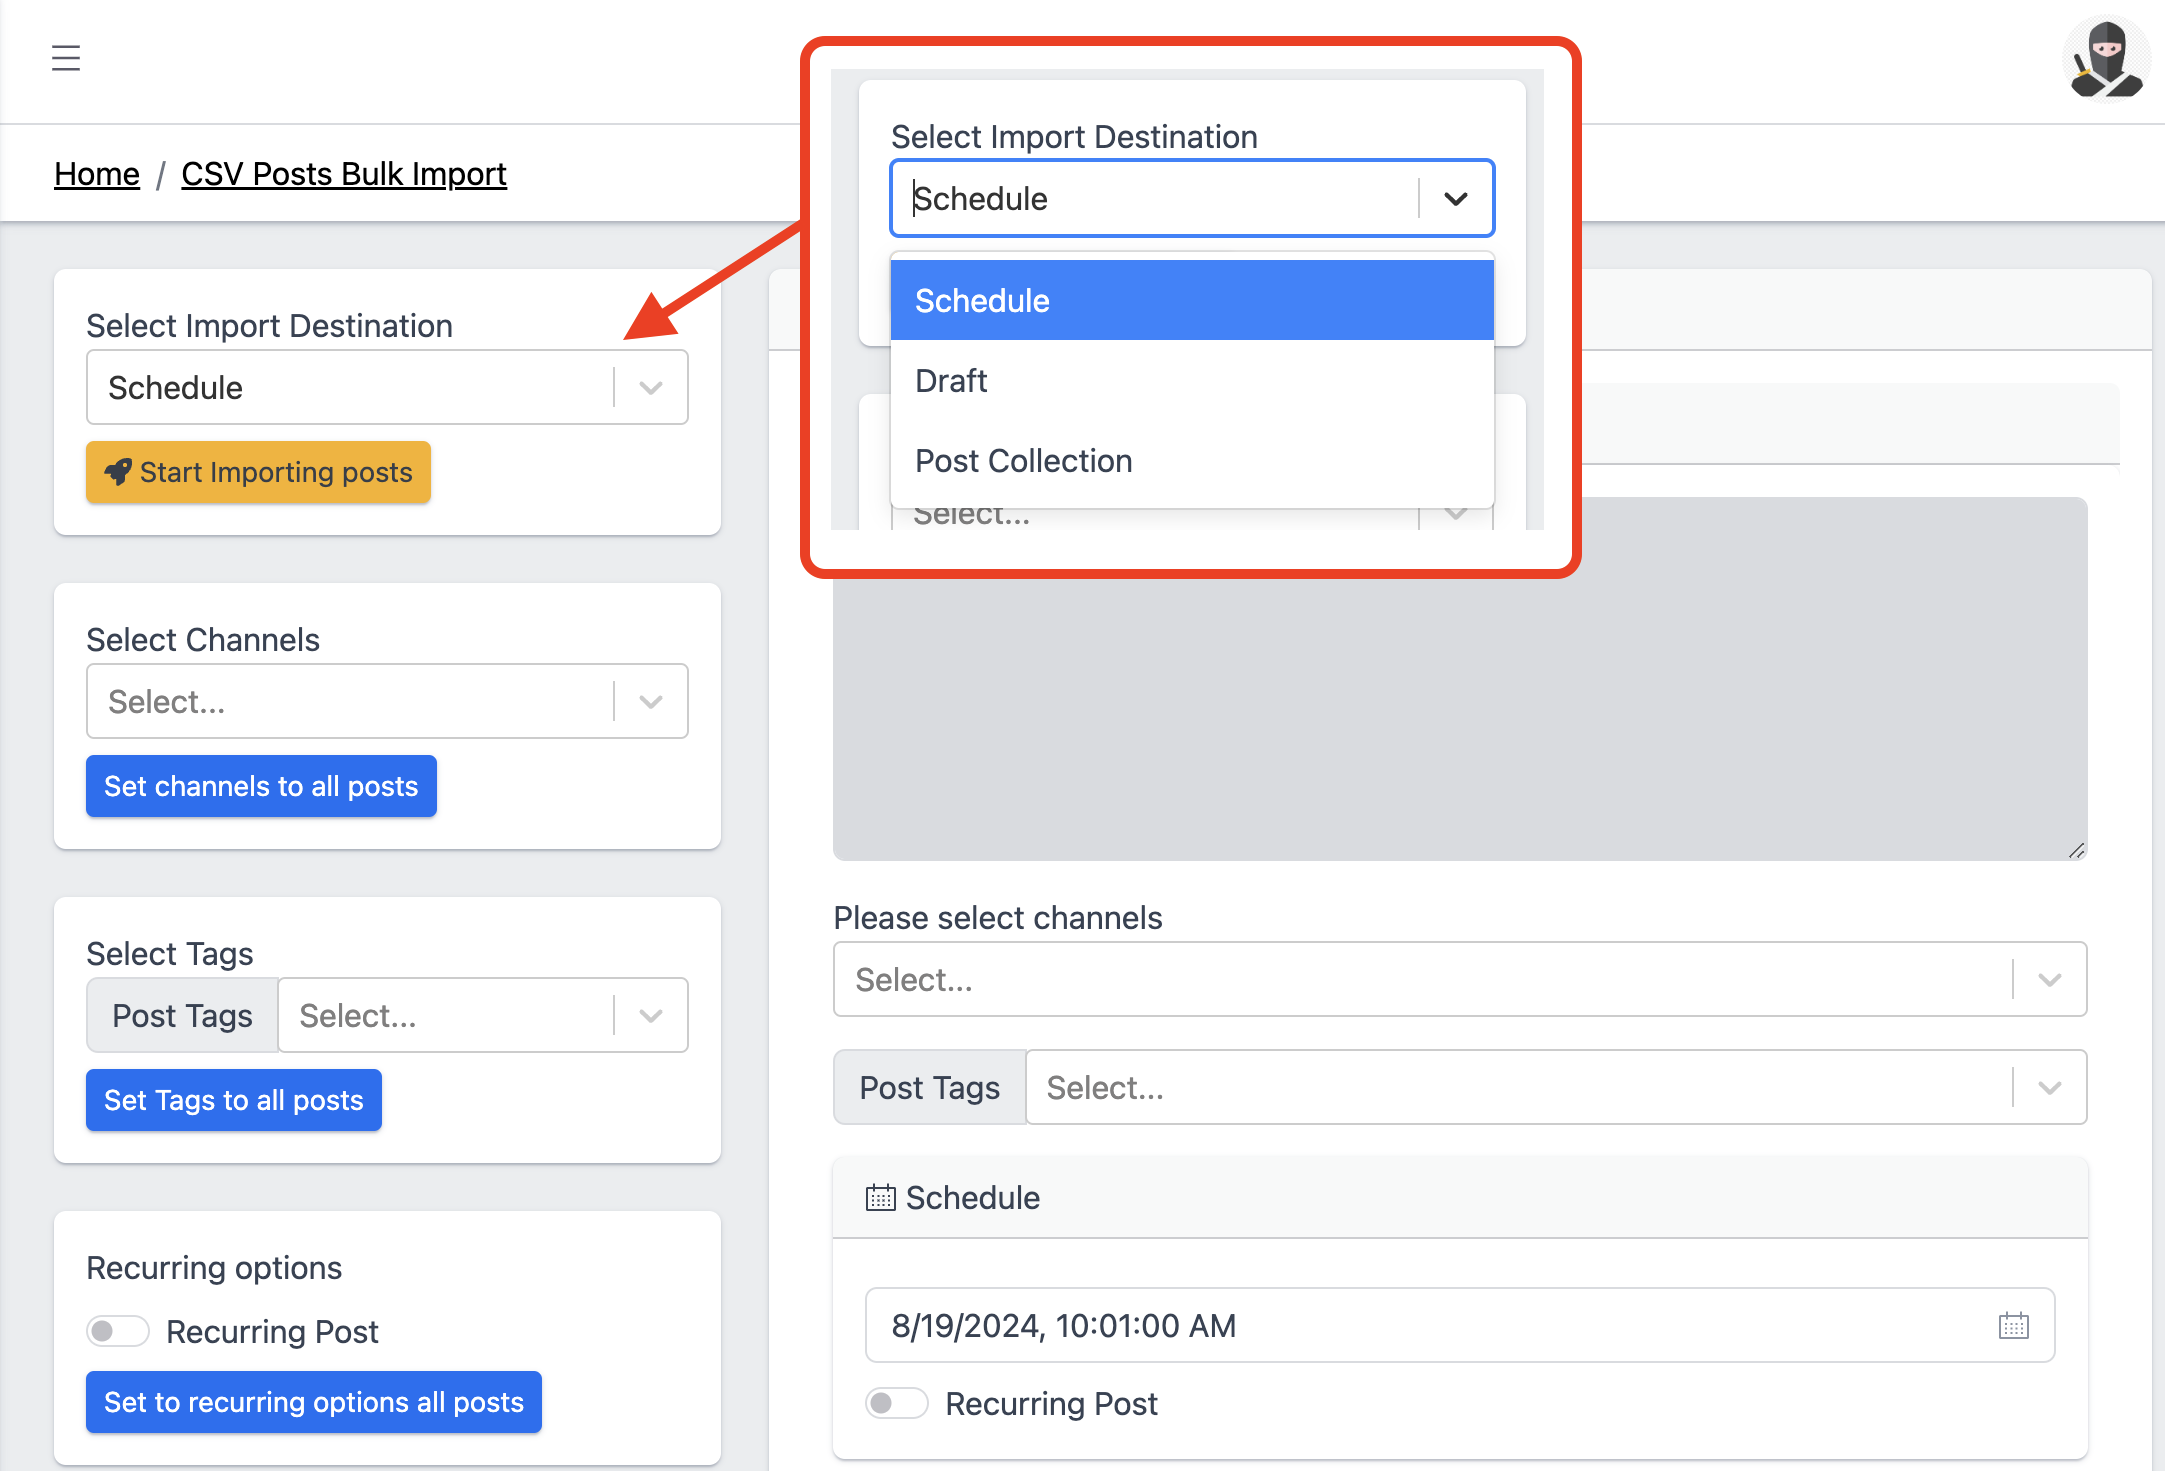
Select the destination where you want to import content in the Select Import Destination. You can choose from Schedule, Draft or Post Collection on the left.
Channel
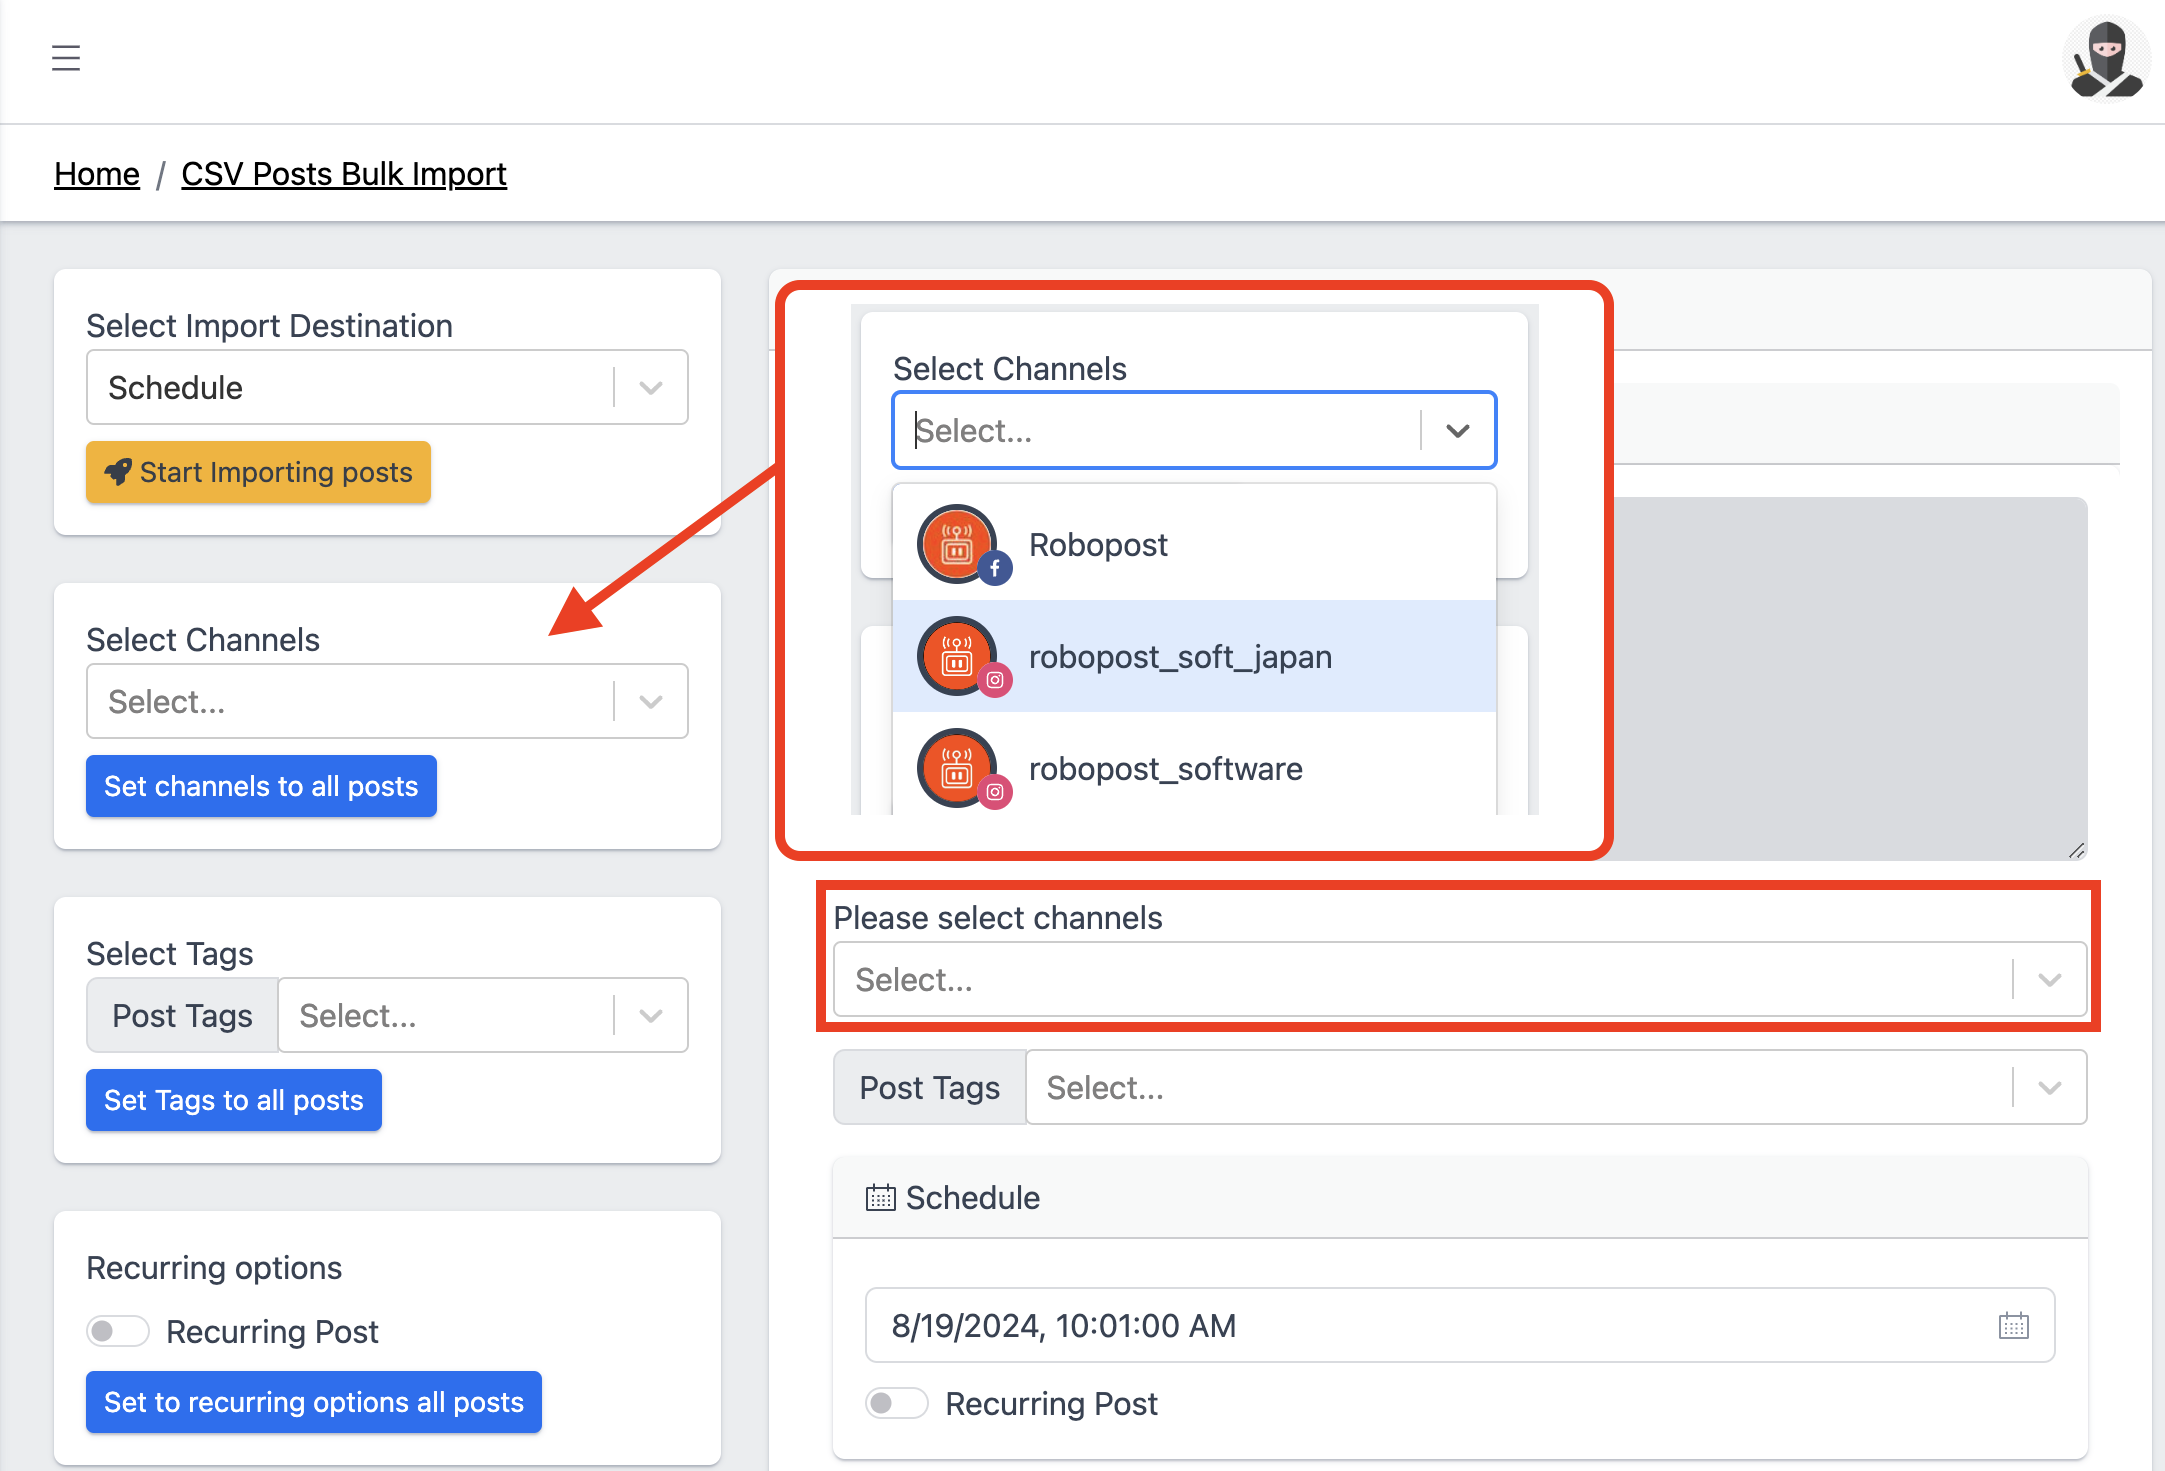
Select the channel where you want to schedule posts. You can choose channels individually for each piece of content, or set the same channels at once using Select Channels on the left.
Tags
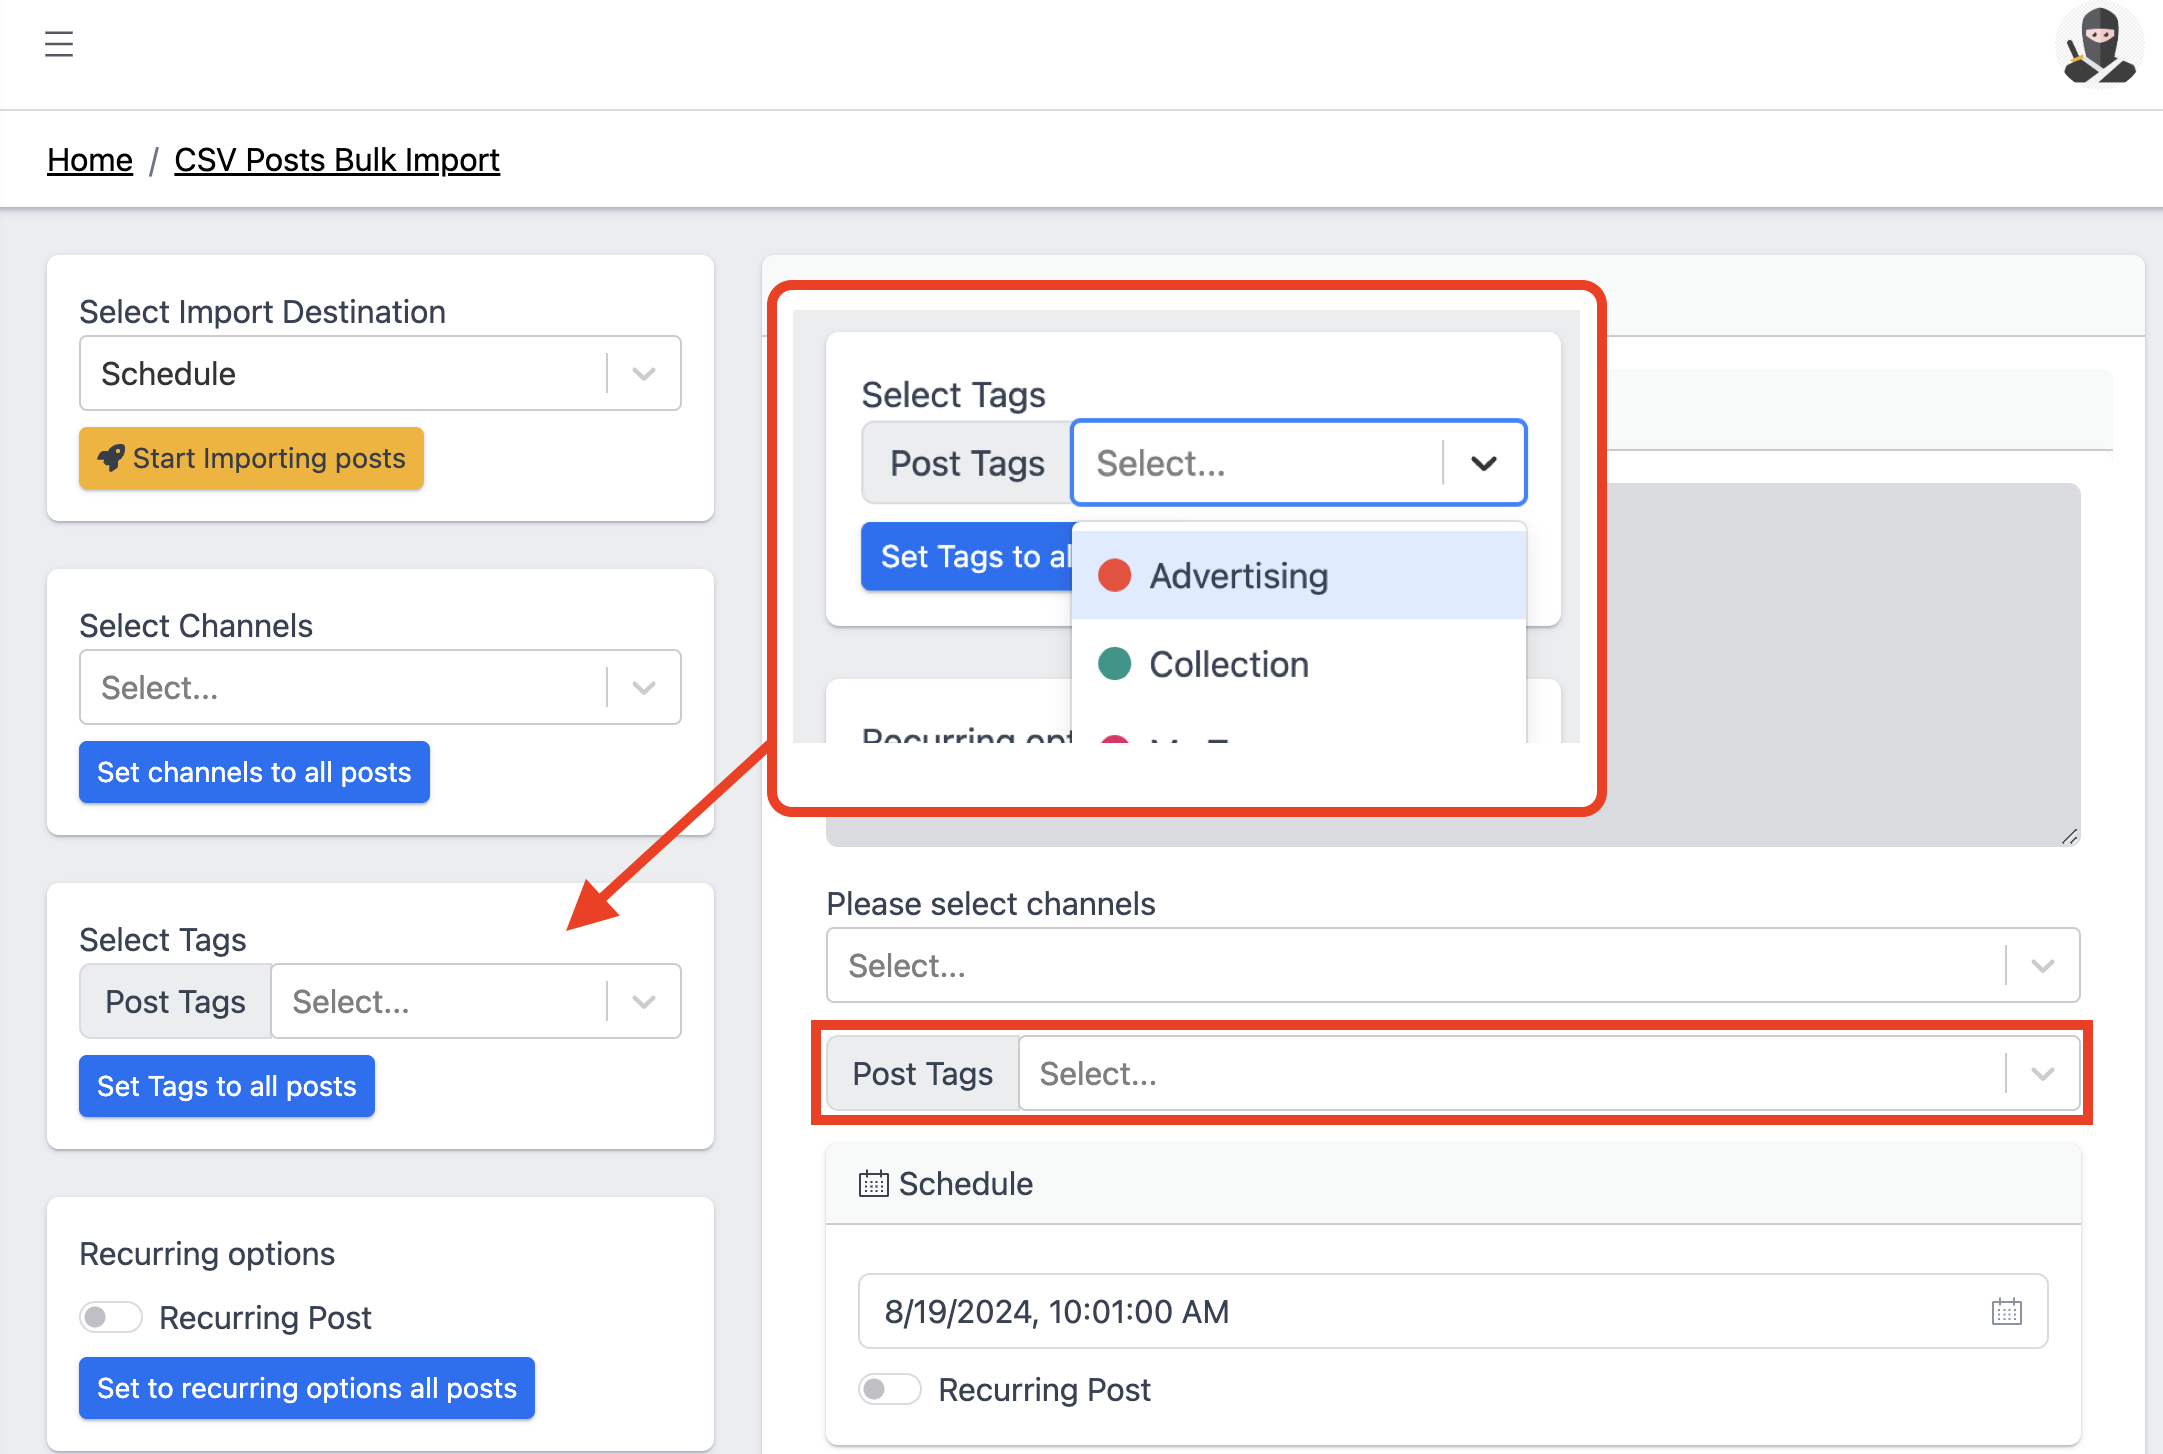
If you want to add tags to the content, select them under Post Tags for each piece of content, or you can apply the same tags at once using Select Tags.
Recurring options
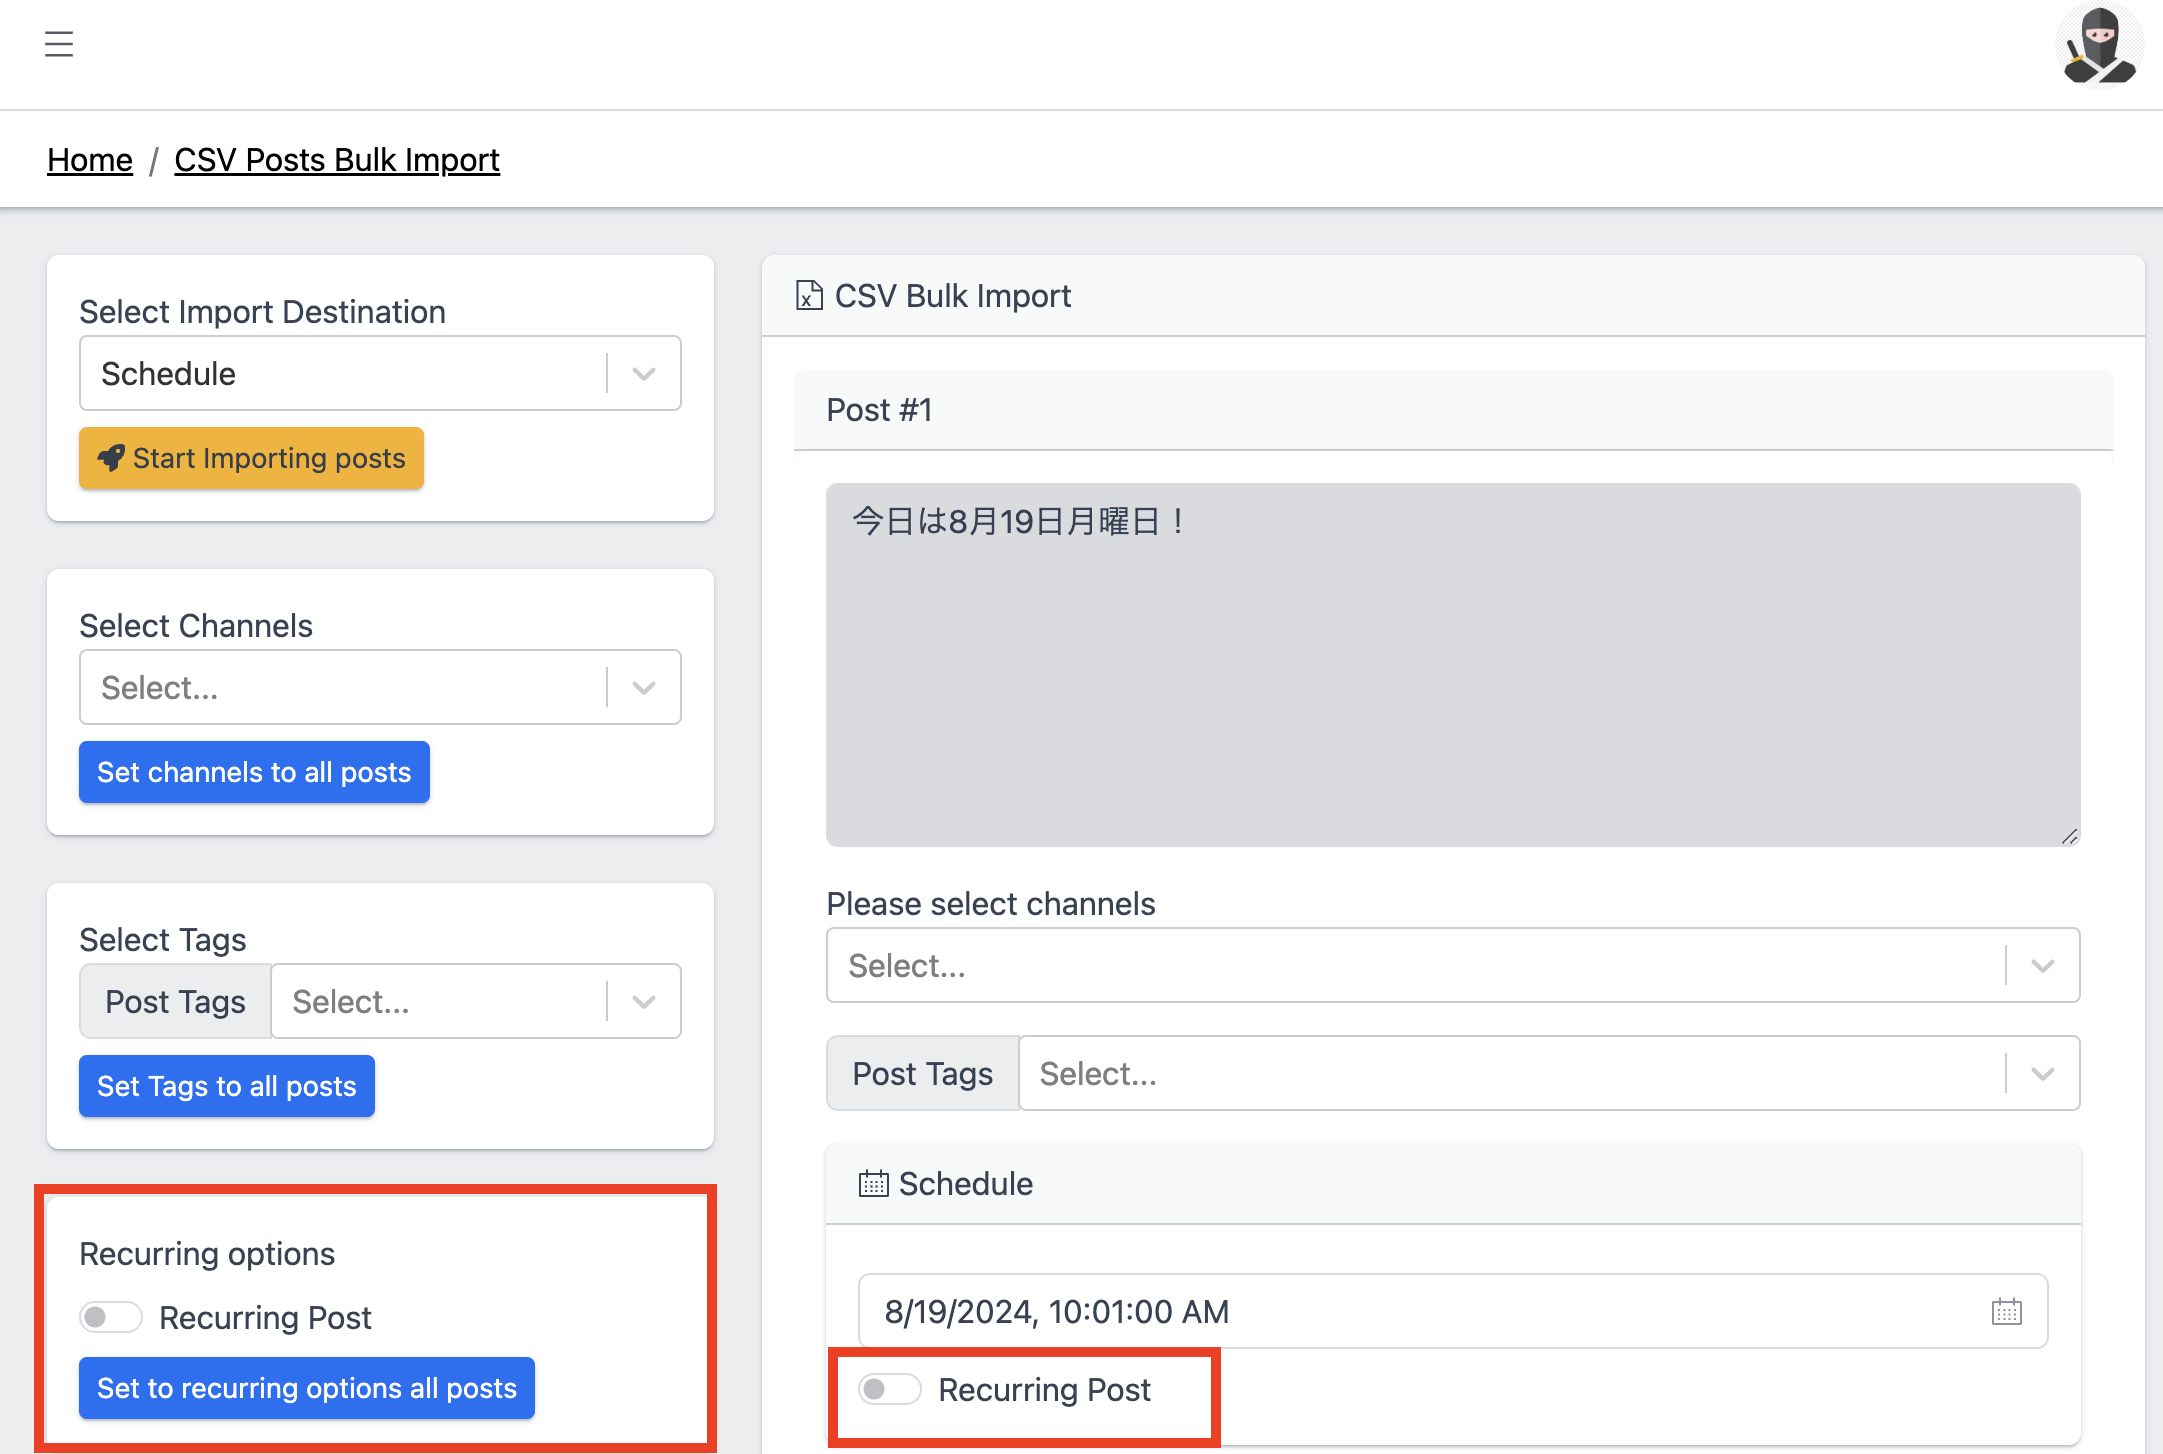
If you want to post the content repeatedly, switch on Recurring Post for each piece of content, or you can adjust the setting for all content using Recurring options on the left.
Schedule
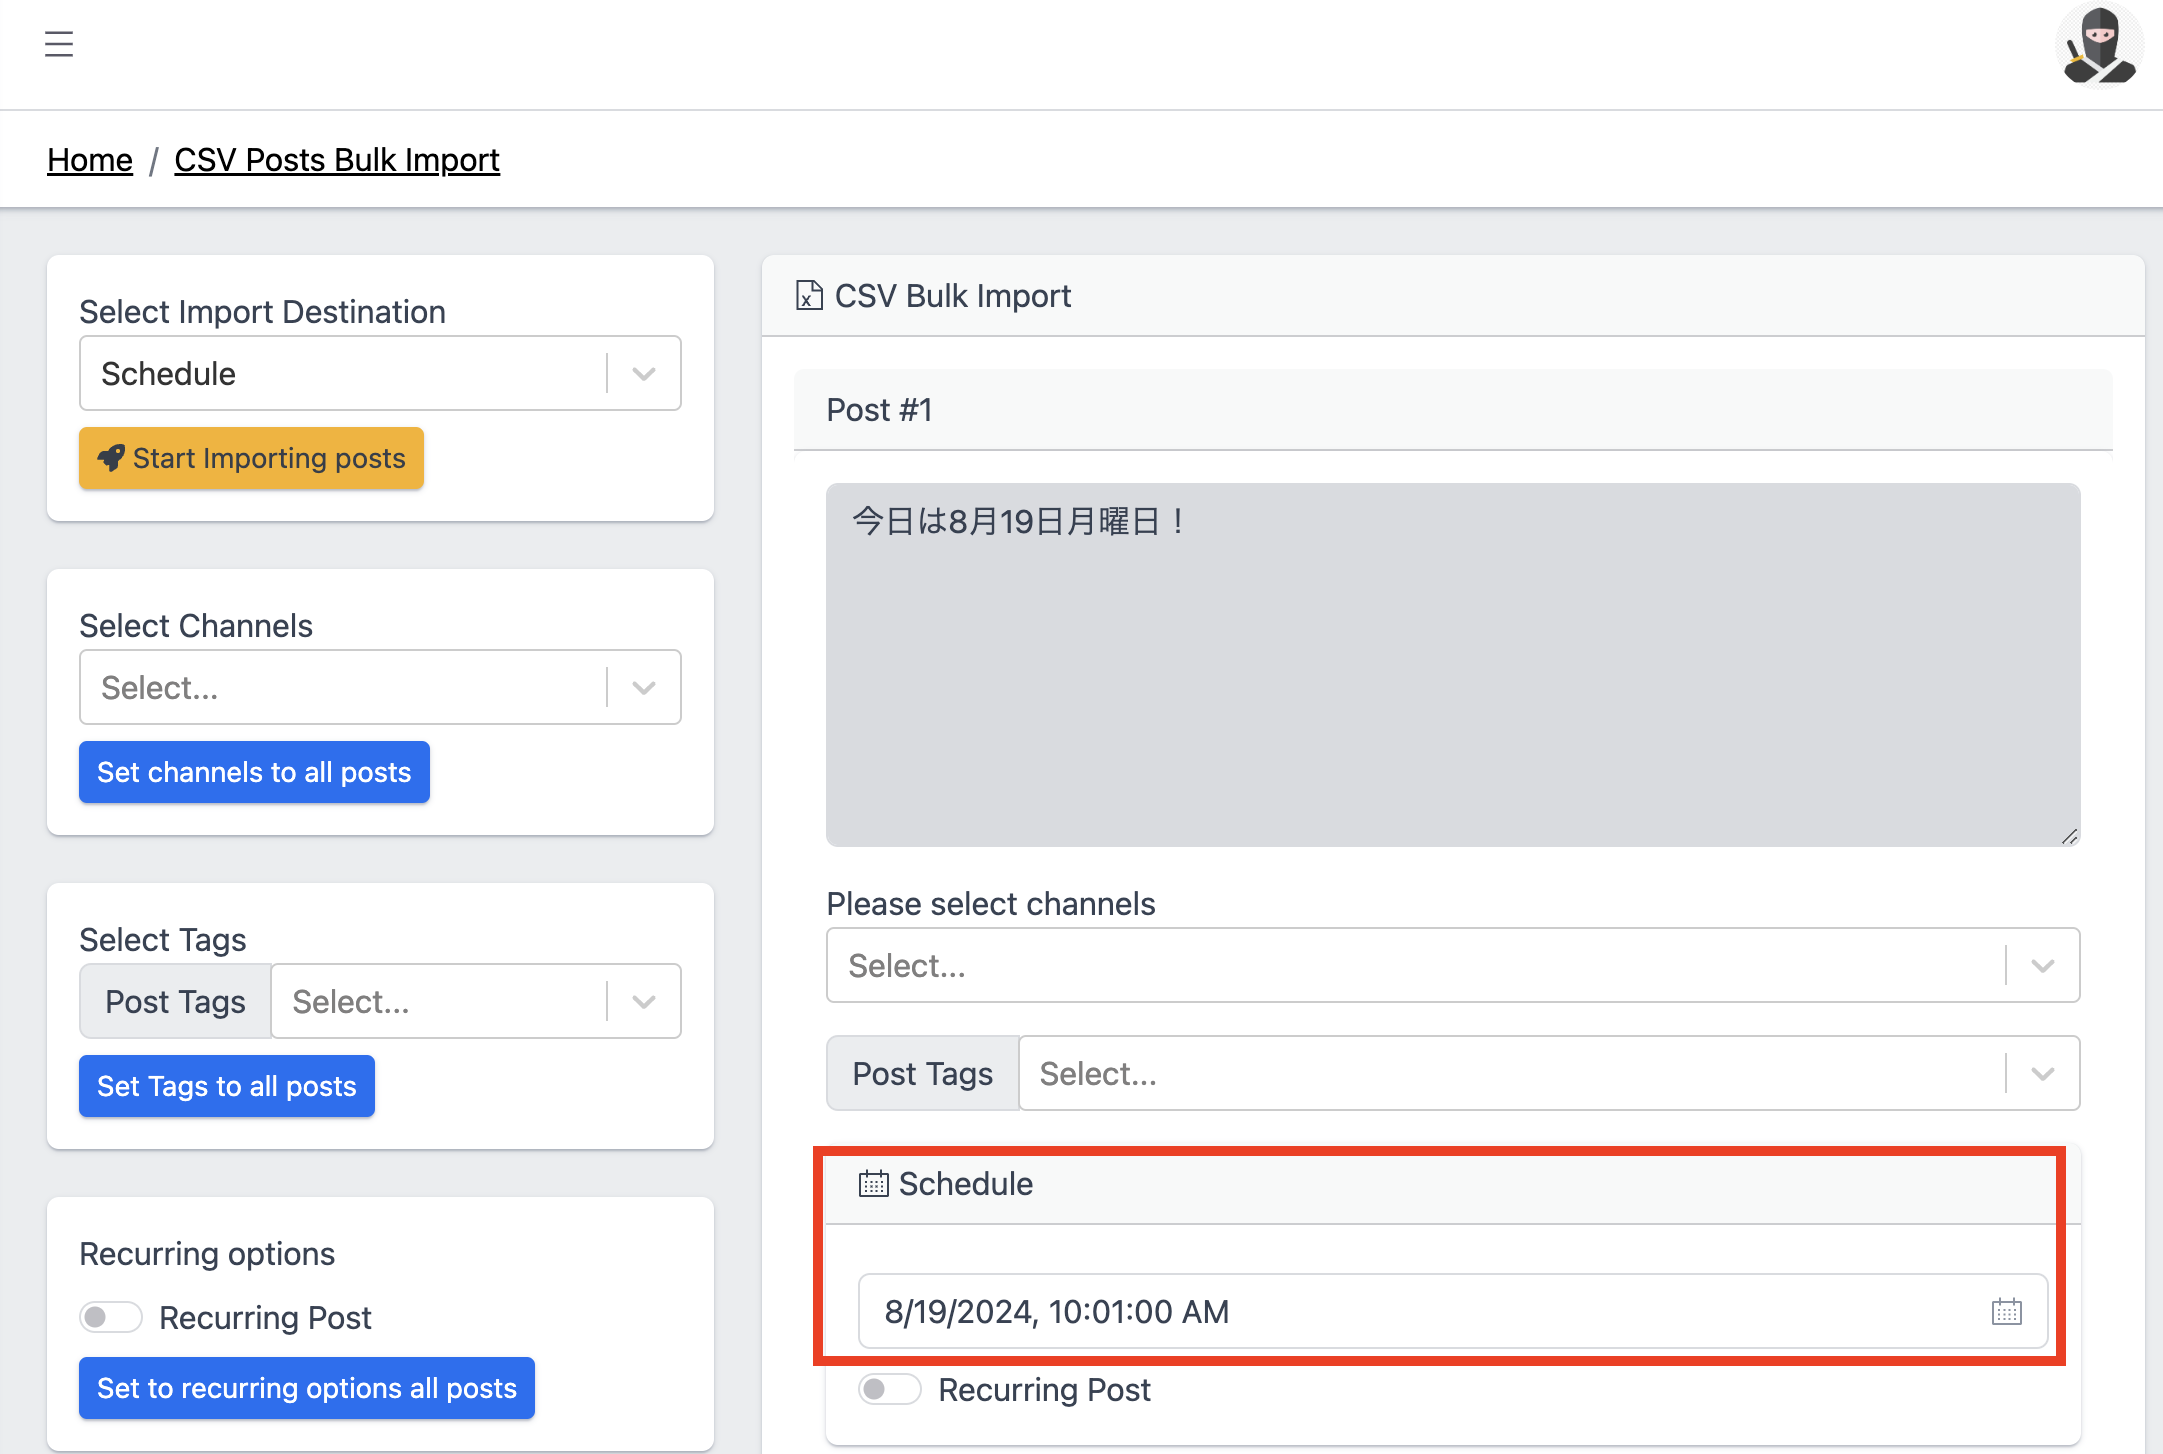
The default schedule is set based on the uploaded CSV file. You can also modify the date and time on this page.
Import contents
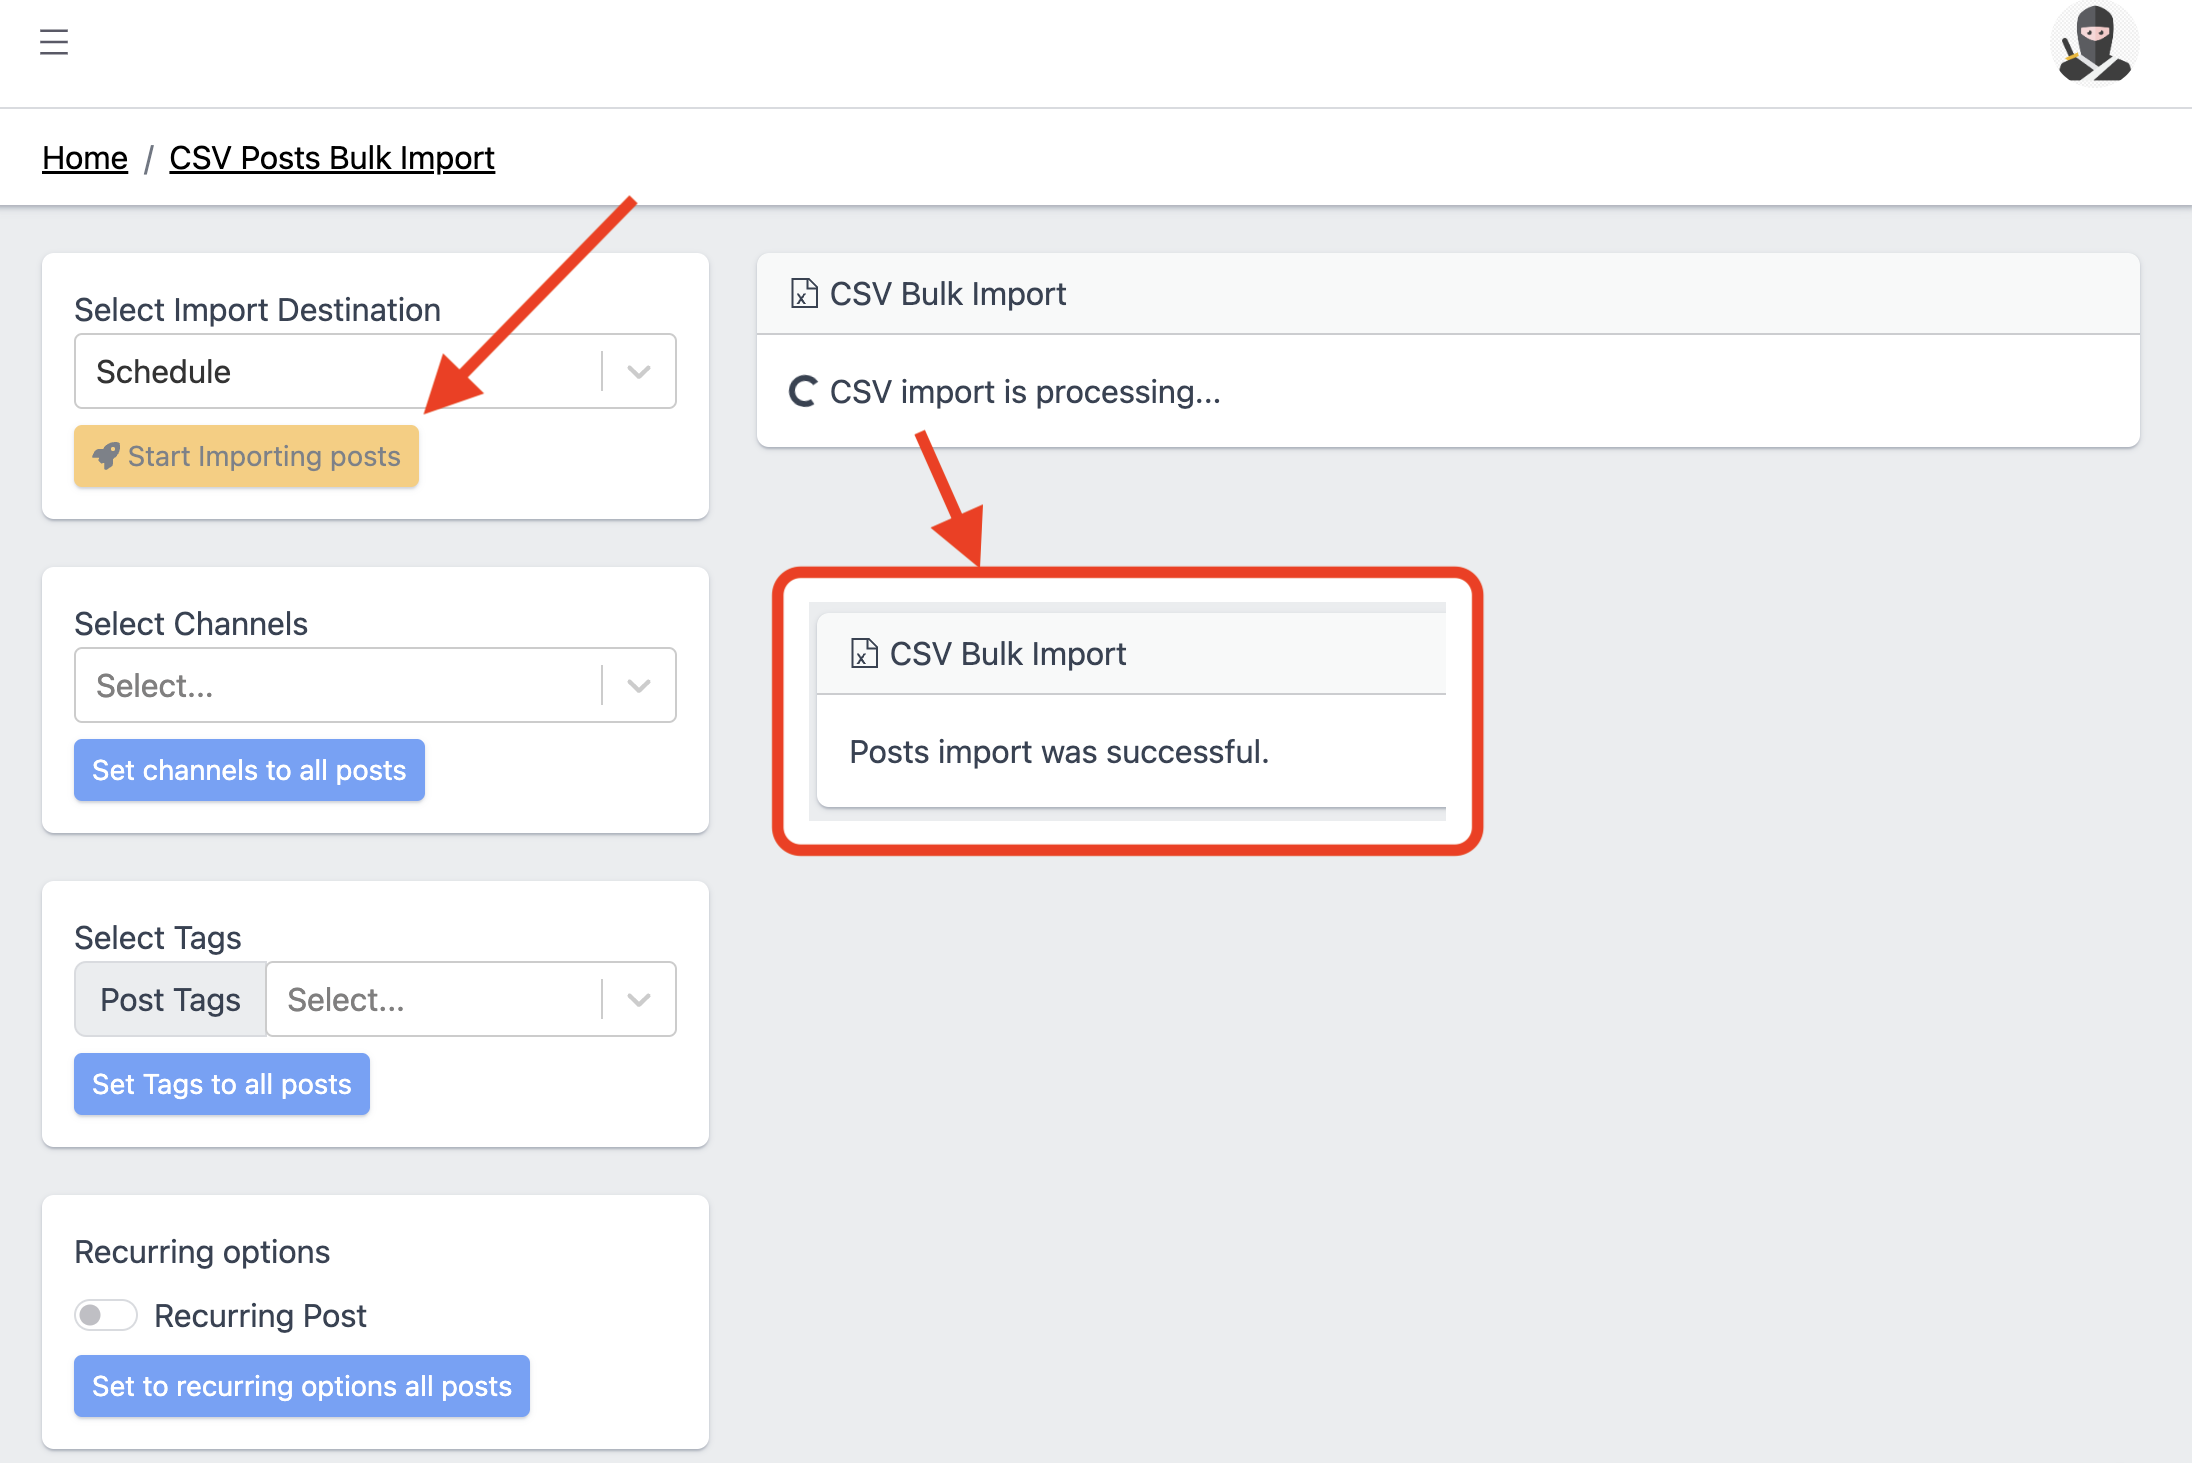
Once it's ready to import, click Start Importing posts. You will see Posts import was successful when the process is fully completed.
Related blog posts


