Streamline Your Social Media Management with Robopost's New CSV Bulk Import Feature

Managing social media content can be time-consuming, but Robopost is here to make it easier. We are excited to announce the launch of our new feature: bulk importing posts using a CSV file. This powerful tool allows you to quickly and efficiently schedule multiple posts at once, saving you valuable time and effort.
How to Use the CSV Bulk Import Feature
Step 1: Prepare Your CSV File
Before you can bulk import your posts, you need to prepare a CSV file. The file should have three columns:
Column #1: Text of the post: This is the content of your social media post.
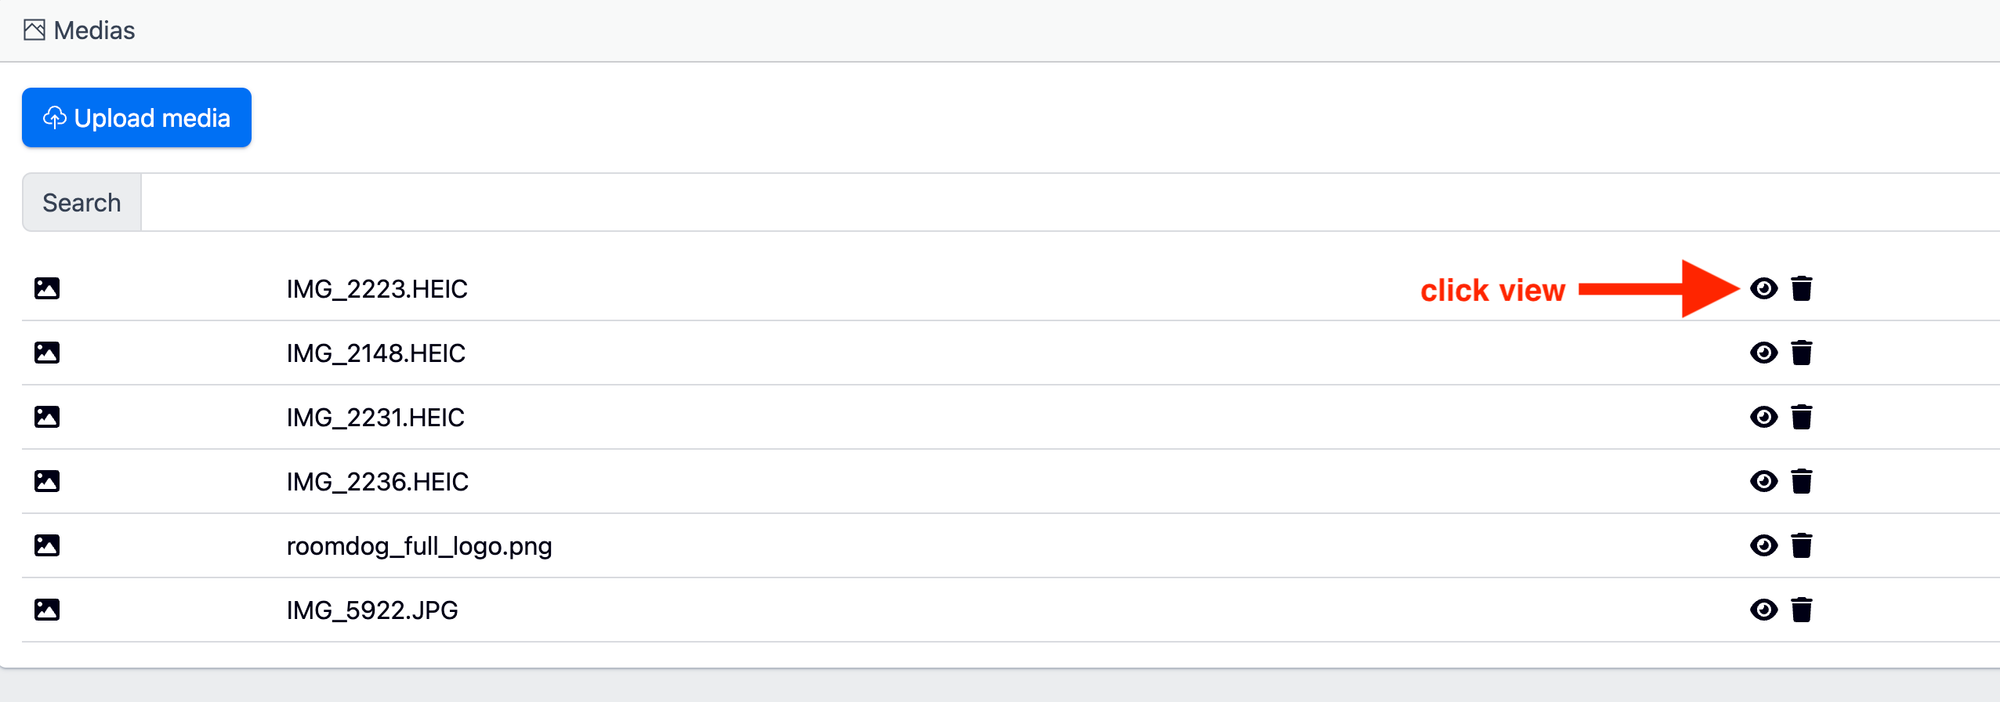
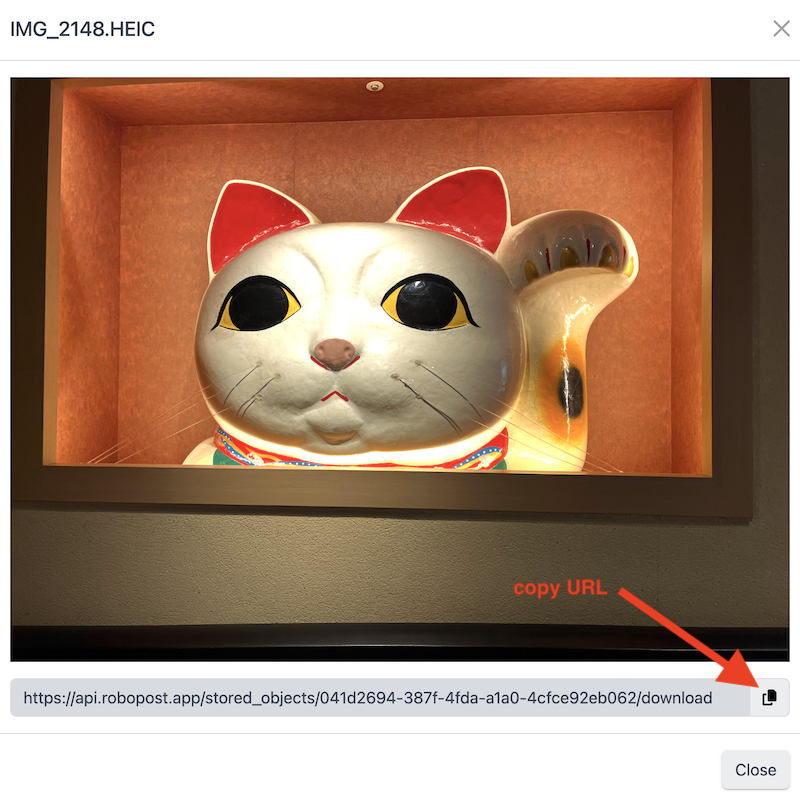
Column #2: URL of images: Include one or multiple URLs of the images you want to attach to your post. You can specify multiple images by separating them with commas. To get URL for images you can use Robopost medias service. When you upload a new media to Robopost you can get a URL for it. It's also perfectly fine to use some other cloud storage service like Google Drive or DropBox to get those URL.
Column #3: Date in ISO format: Specify the date and time when you want your post to be published. The ISO format allows you to include time zones as well. If you don't include a Timezone, the system will import dates as UTC.
- Example date without timezone (UTC): 2024-07-28T14:30:00
- Example date with timezone (Asia/Tokyo): 2024-07-28T14:30:00+09:00
Here is an example of how your CSV file should look:
Step 2: Upload Your CSV File
To bulk import your posts, follow these simple steps:
- Click on Scheduled Posts in the Robopost dashboard.
- Click on CSV Bulk Import.
- Click on Upload CSV and choose your CSV file from your computer, OneDrive, Dropbox, or Google Drive.
Step 3: Configure Your Posts
After uploading your CSV file, it will take a few minutes to load. Once loaded, you will see a screen that lists all the posts from your CSV file.
For each post, you need to:
- Select Channels: Choose the social media channels where you want to publish your posts. You can also bulk select and set channels for all posts by selecting "Select Channels" on the left pane and then "Set channels to all posts".
- Import Destination: On the left pane, select an import destination. You can choose to import your posts to the Schedule, Draft, or Post Collection.
Step 4: Import Your Posts
Once you have configured your posts, click on Start Importing Posts. Voila! Your posts will be imported to the desired destination, ready to be published according to your schedule.
Benefits of CSV Bulk Import
- Save Time: Schedule multiple posts at once, freeing up your time for other important tasks.
- Stay Organized: Keep your social media content organized and on schedule.
- Improve Efficiency: Quickly and easily manage your social media posts with minimal effort.
Robopost's new CSV Bulk Import feature is designed to streamline your social media management process. By allowing you to schedule multiple posts at once, you can focus on creating great content and engaging with your audience. Try it out today and experience the convenience and efficiency for yourself!
For more tips and updates on how to make the most out of Robopost, stay tuned to our blog. Happy posting!